
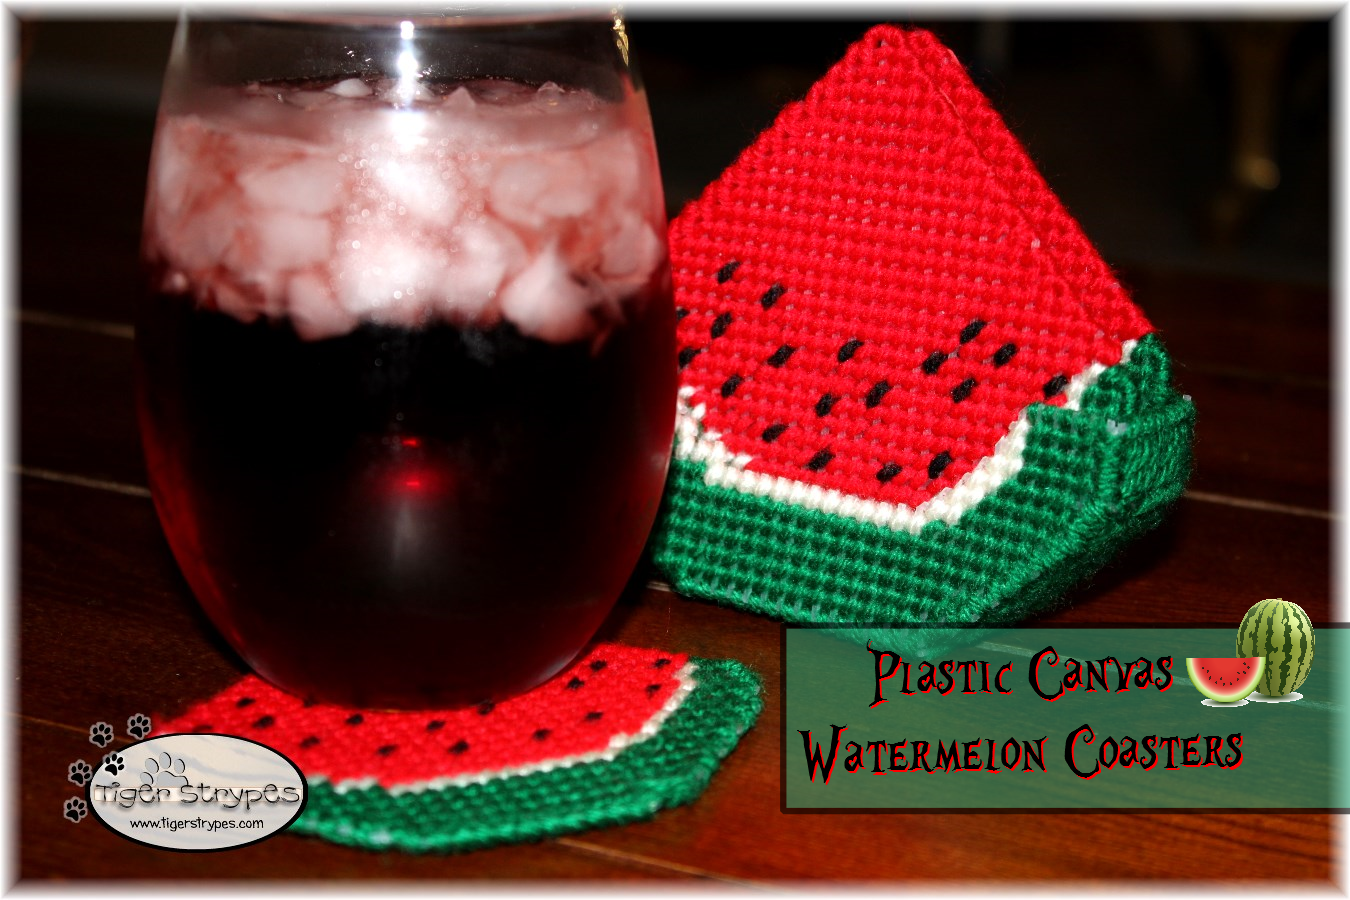
 Watermelon Coasters – Plastic Canvas Project
(#TBCCrafters)
I found a free plastic canvas project online for this plastic canvas watermelon coasters project, and thought it would be fun to try! I’ve been a cross-stitcher forever, but it’s starting to be hard with my vision, and my hands. I figured I’d try plastic canvas to see if it was any easier. I’m not a pro at this, but figured it was fun. I see the ladies that have things at the craft fairs like this and they look identical on the front, and the back – I need to learn that trick!!
These would be perfect for a Spring brunch, or a Summer party outdoors. Very easy to make, and a great way to use up scraps of plastic canvas pieces and extra yarn.
I hope you like it!! Have a blessed day, and please be sure to comment on, and share this #TBCCrafters craft on your social media channels – thanks!!
![]()
Make Some Watermelon Coasters From Plastic Canvas
Materials/Tools Used:
- Plastic Canvas (10-Count)
- Yarn
- Craft Needle
- Scissors
- Felt/Self-Adhesive Foam
- Glue Gun
- & Time!
Instructions:
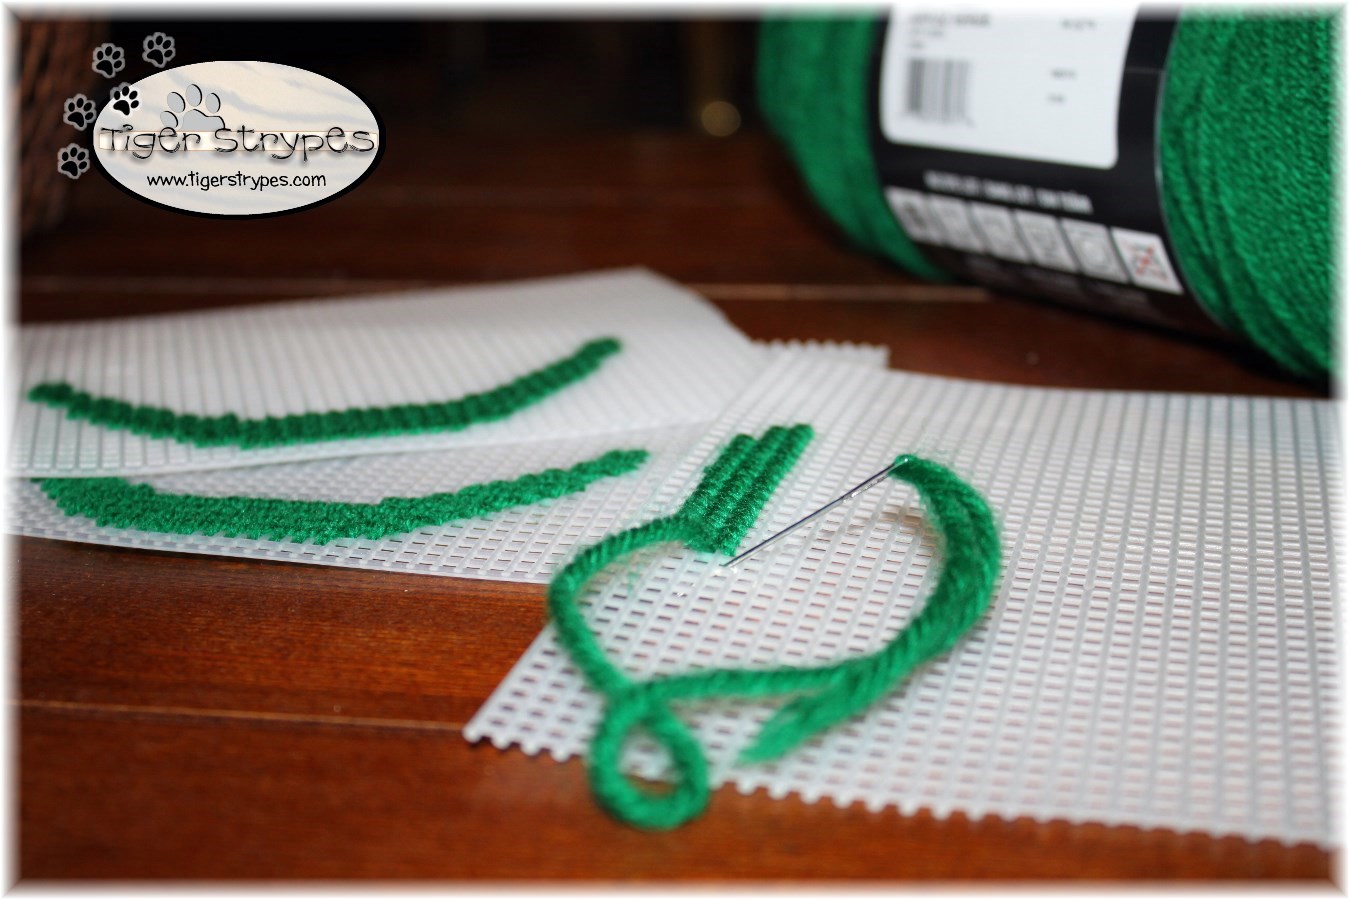
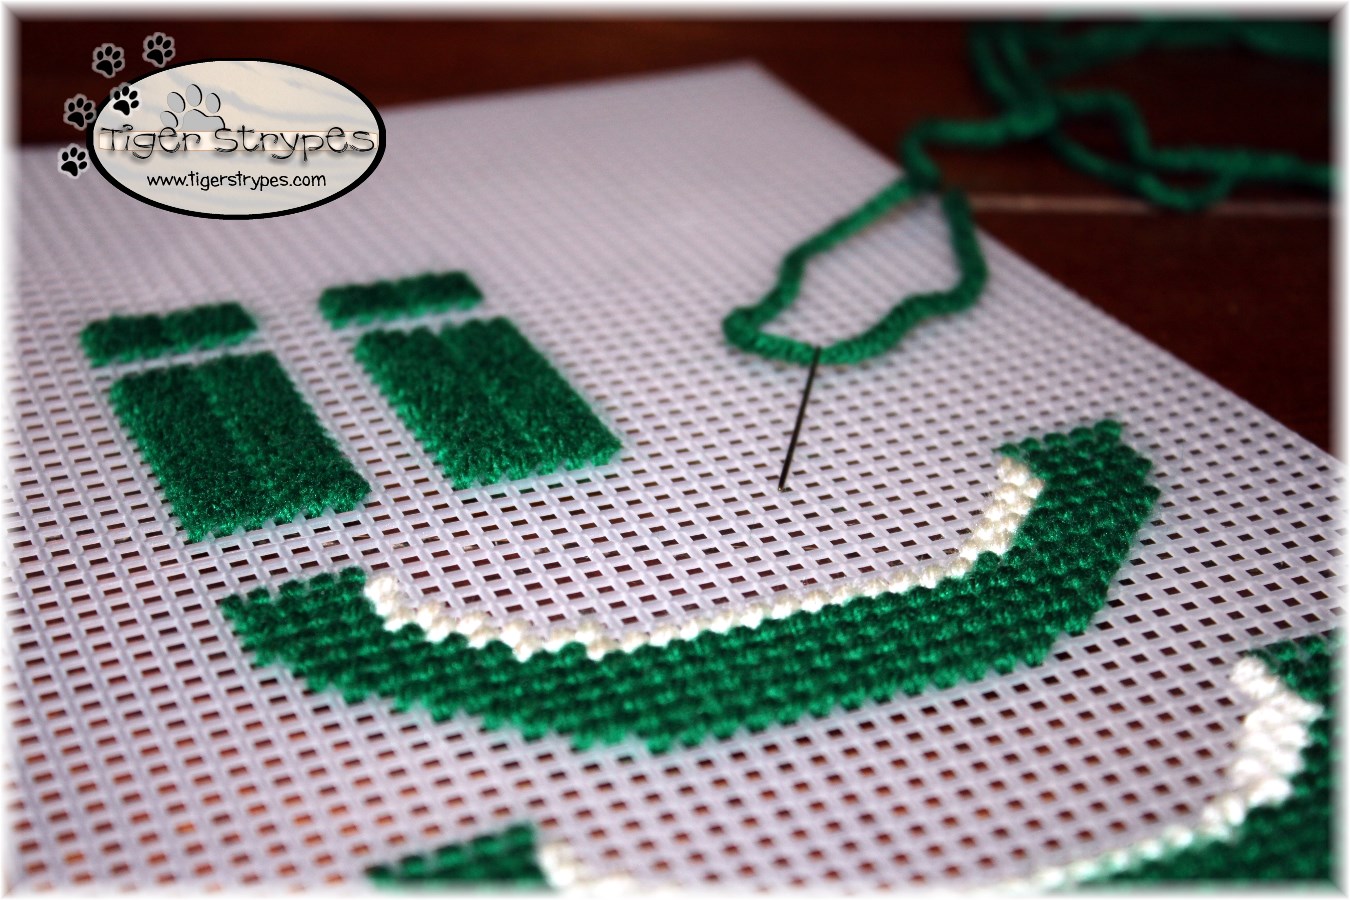
I started by using some green yarn and making the “rinds” of the watermelon, for the coasters (I made a total of four).
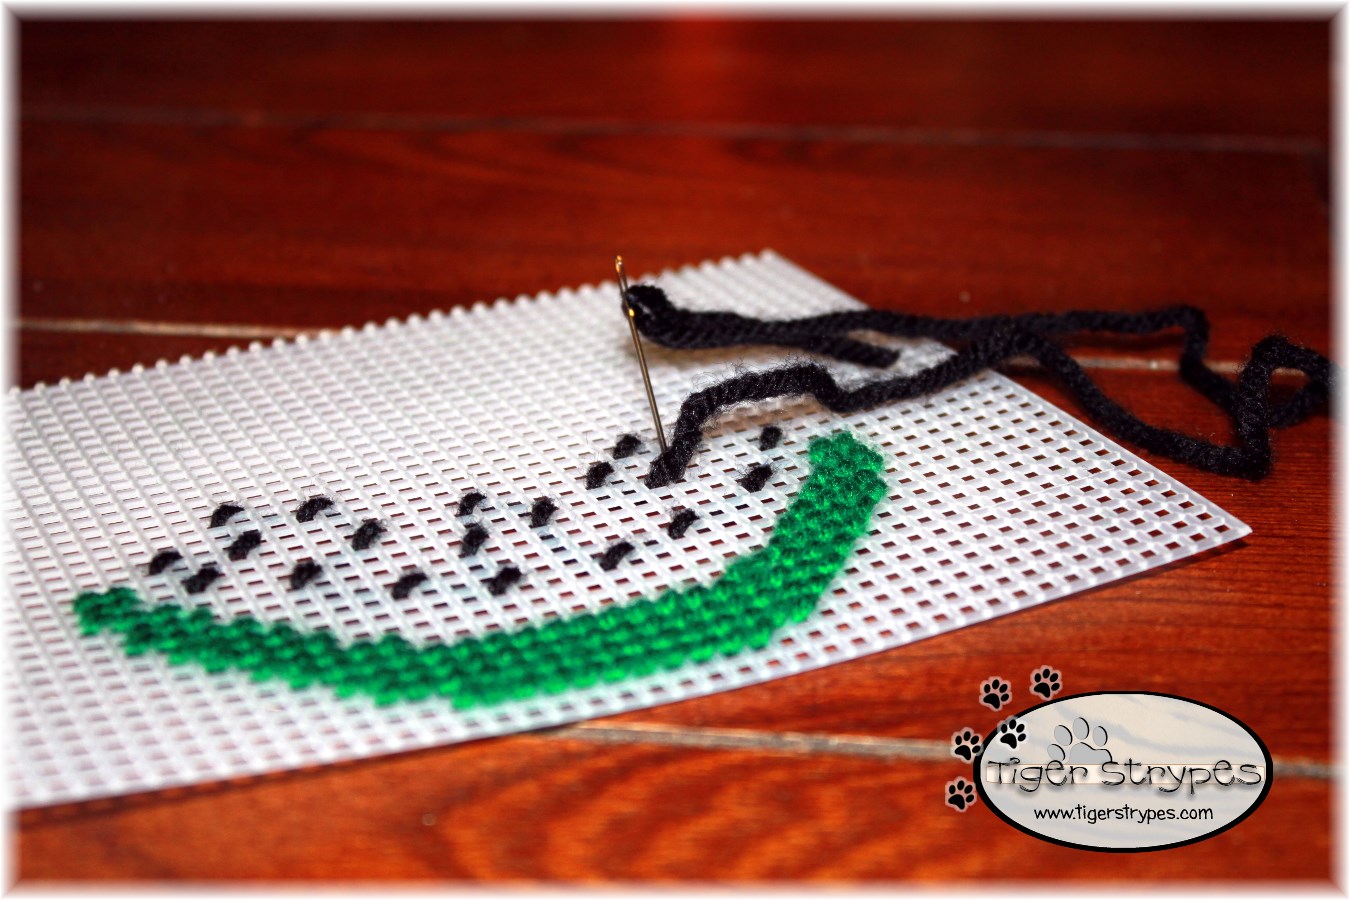
Then, using some black yarn, I added the “seeds”.
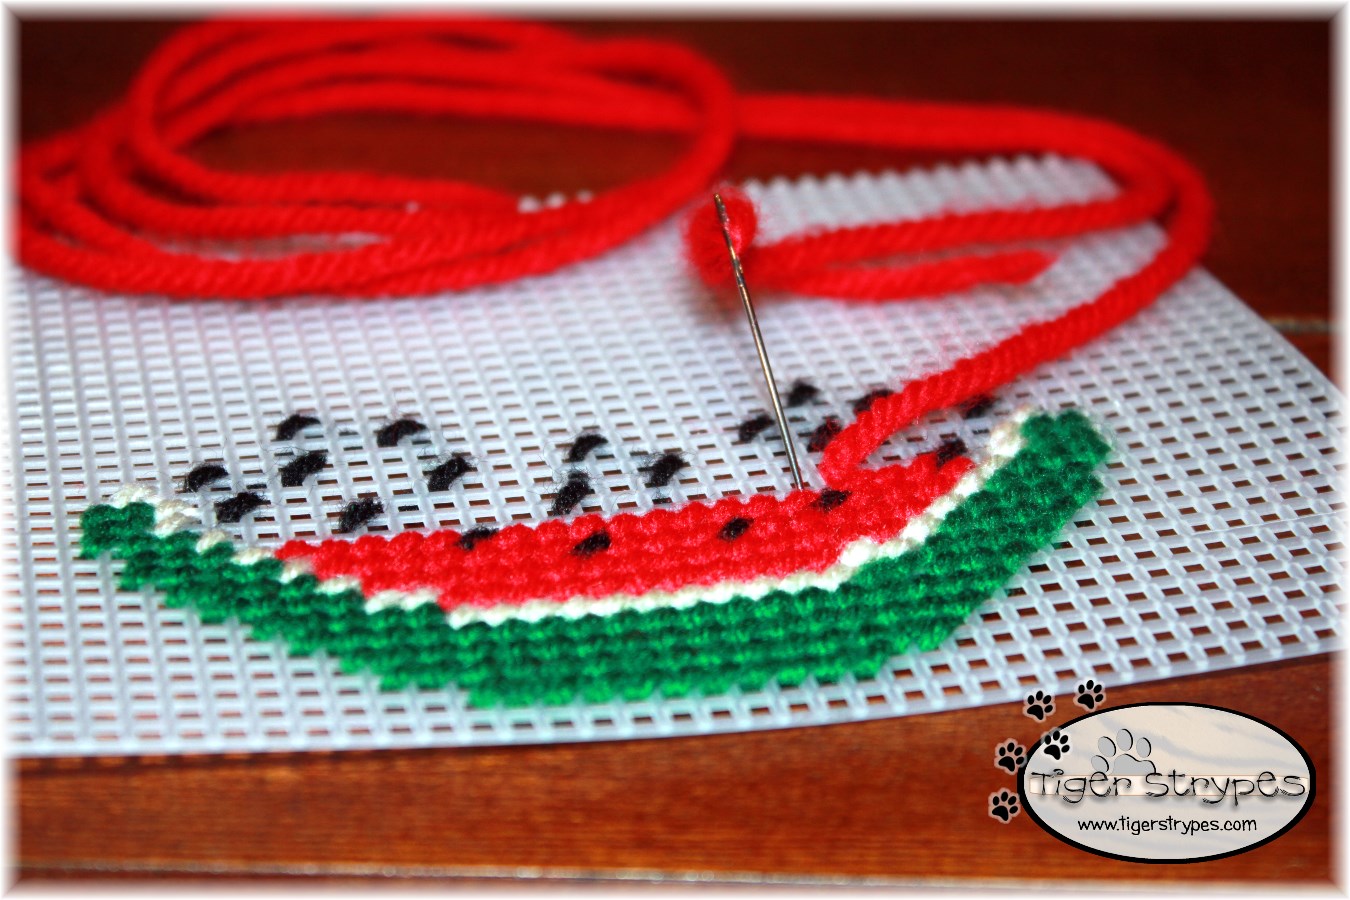
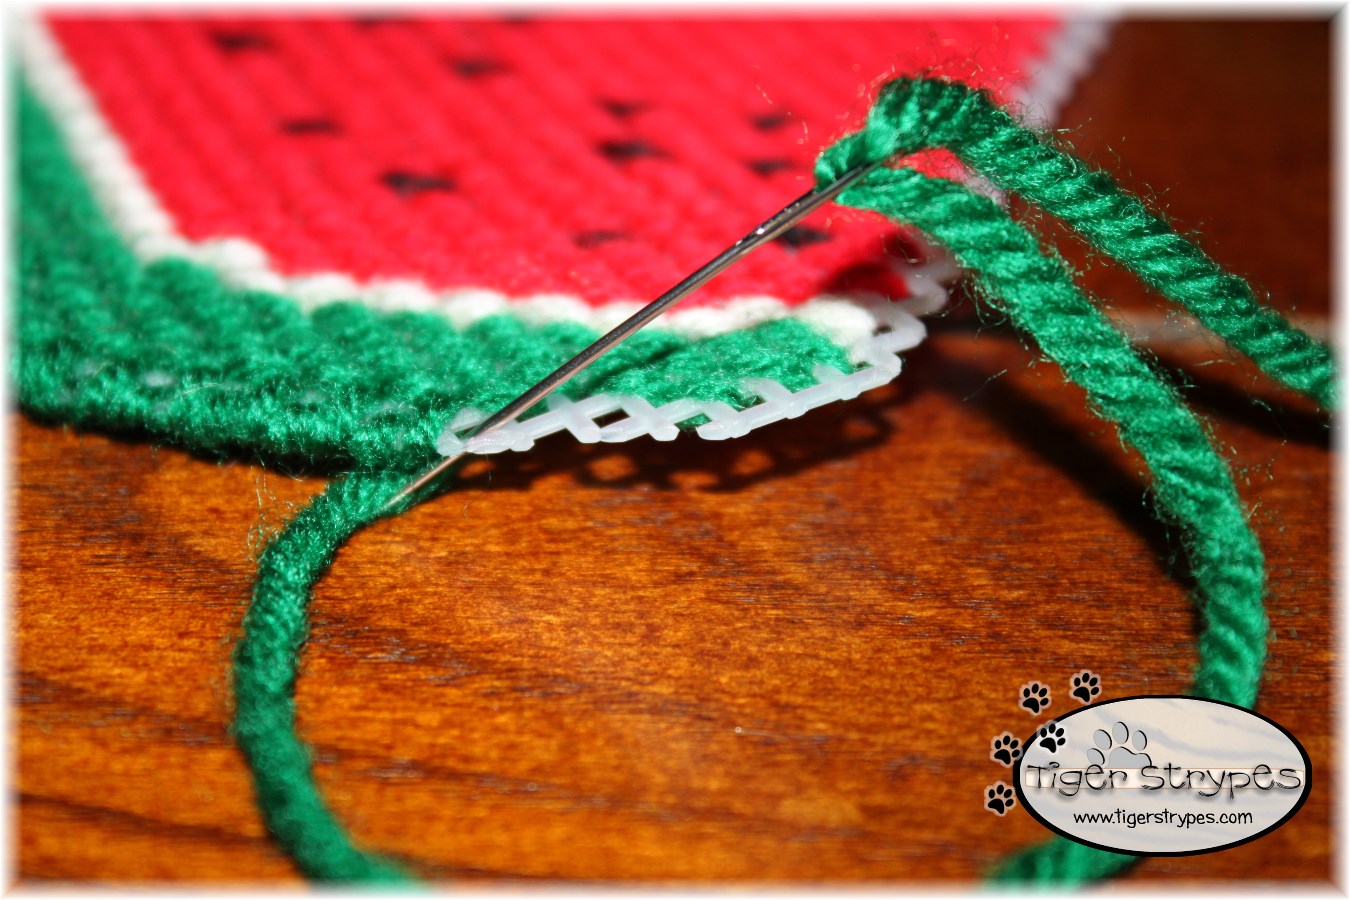
Now, after using some white yarn (for the rind), I then used red yarn for the inner part. Just using basic stitches to fill it in, which was pretty ease. I made sure when I was finished with the piece, to run my needle under the back to hide the excess, and then trim it.
When I was done with all of the watermelon pieces, I cut them out, leaving a bit on the edge. Then, using an “Overcast Stitch”, I finished the edges.
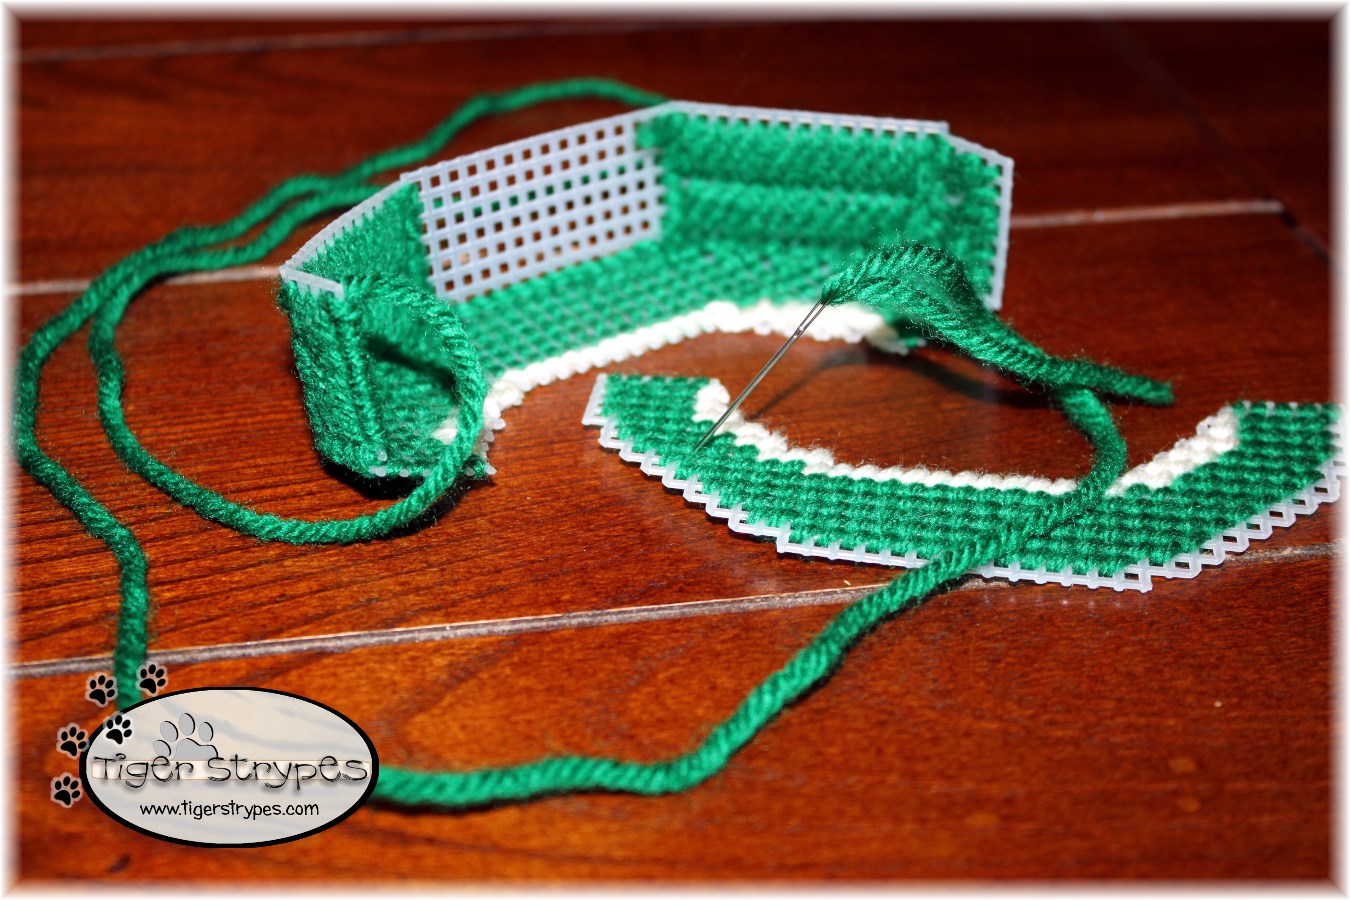
Next, I made the pieces for the “stand” that they will sit in.
When I had all of the pieces finished, I just attached them together to form the bottom portion. Using an “Overcast Stitch” to also finish the edges on this piece.
Now, I just used some sticky craft foam to make a back for the coasters. You could also use felt. I just traced out the outline of the pieces, and cut it a bit smaller to fit on the back. You could also use hot glue to adhere it.
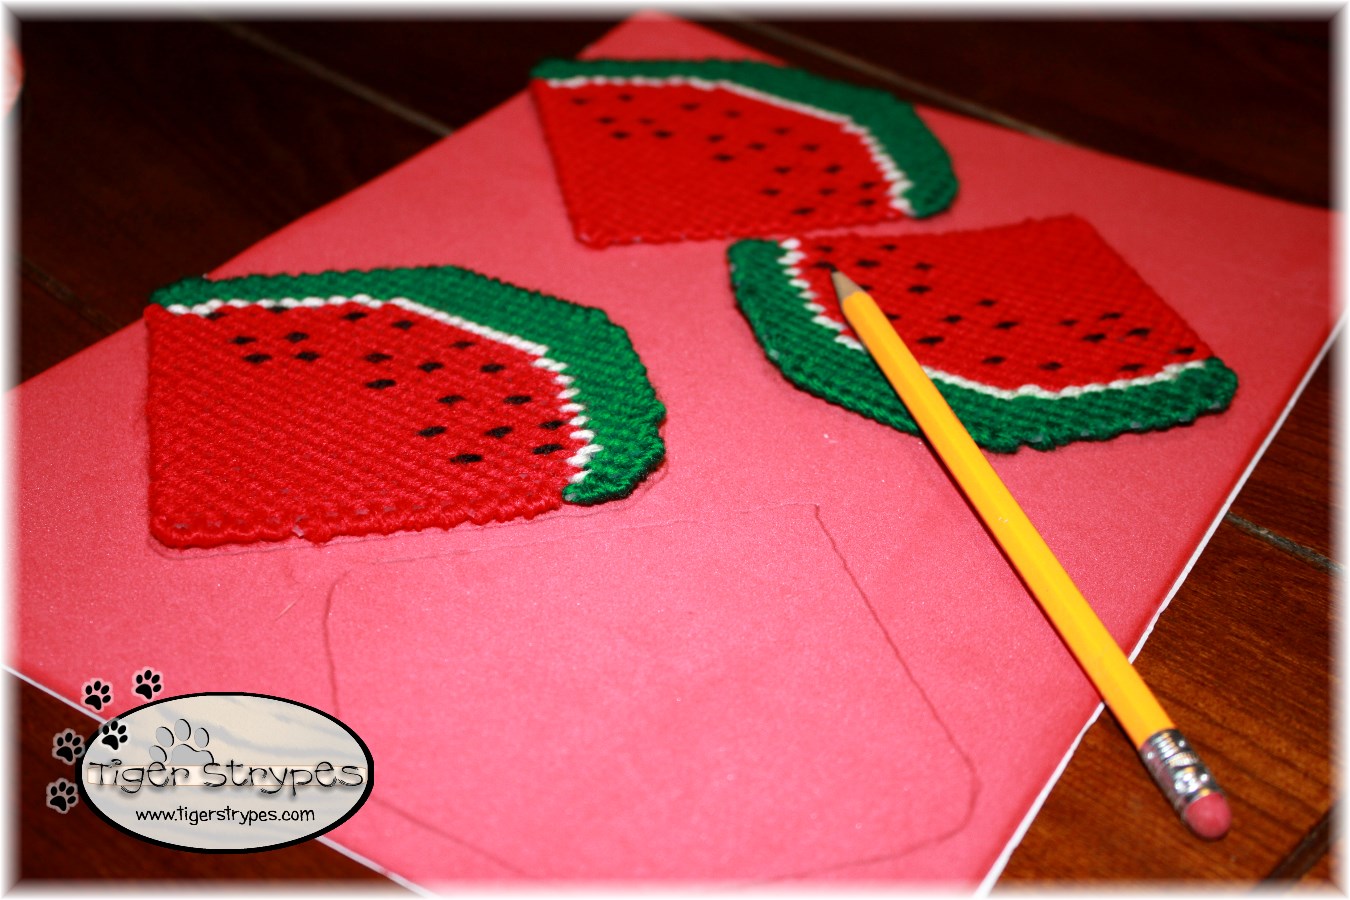
Now you can just display them wherever you wish, and allow your guests to enjoy keeping the “rings” off of your table.
Hope you like it! Please take a minute to leave me a comment and let me know what you would do different, or what you would add, etc. Be sure to tweet, pin, share, etc. – thanks!!

All pictures and text are my own and have not been copied in any way. I, Jamie Tomkins, own and operate Tiger Strypes Blog located at www.TigerStrypes.com. From time to time you’ll hear about my real life experiences or creations with products and/or services from companies and individuals. Let it be known that I have no affiliation with these said companies, and have not received compensation for reviewing or using their service/product. The information that I give regarding the product/service is based off my own personal experience, I do not guarantee that your experience will be the same.
 |
 |
 |
PLEASE SHARE THIS POST USING THE OPTIONS BELOW…THANKS!!
*****************************************************************************************************


These are so cute! Thanks for sharing at the #HomeMattersParty. We hope to see you again Friday!
Thanks Brittanie!!
Thanks Amy – figured it would be fun to make for the summer! 🙂
So cool and perfect for summer! They came out so cute, I like how you don’t have to worry about making a mess on them, they look easy to clean. Pinned!
Thanks Bernadyn!! They would be easy to clean…or just make another set! 🙂
How cute!!! I bet kids could make these, with some help from adults, as well! Very bright and summery 🙂
Definitely – using a bit larger weave and the plastic needles, it would be perfect for kids!
First of all, I love watermelons! 🙂 Secondly, this is seriously one of the cutest crafts I’ve ever seen, so I’m pinning it right now!! I’m glad that it looks easy because I’m not very good when it comes to crafting. It might be a bit cheesy, but I think I’ll be making this for my friend’s wedding anniversary in June.
Thanks Alysha – it’s pretty easy to do, I just wish I knew how to make it like some of the ladies I’ve seen, that have it look the same on both sides. :/
Wow, this takes talent! I wish I had that patience!
Thanks Katherine. I have very little patience, so it definitely doesn’t take that!! ha/ha
Now I wanna make a pineapple, sooooooo cute!!! Love it!
That would be great, Rose – just change up colors and shape, and you’re done! 🙂
Ok, I am going to the craft store this weekend! These are adorable! This looks too easy to make! I am not very crafty, but have been wanting to try my hand at a craft and this looks like a easy way to start. Thanks for sharing am easy DIY that anyone can do. 🙂
You’re welcome!! I love how the Cricut can make anything look like it took forever!! ha/ha
These are so cool! I love them, never would have thought of making them myself and this is something my kids could help me doing!
They were pretty easy to do and fun to have at your home for parties, etc. 🙂
What a great summer project! These would make a wonderful gift or use them yourself.
Are you hinting that you want them for a gift?? 🙂
You make things look so easy. I love watermelon items!
You could do it, Tara!! It is really easy, once you get going! 🙂
These are so cute! I love them for summer decor and know that my family would love these too.
Thanks Daisy – they were really easy to make!! 🙂