
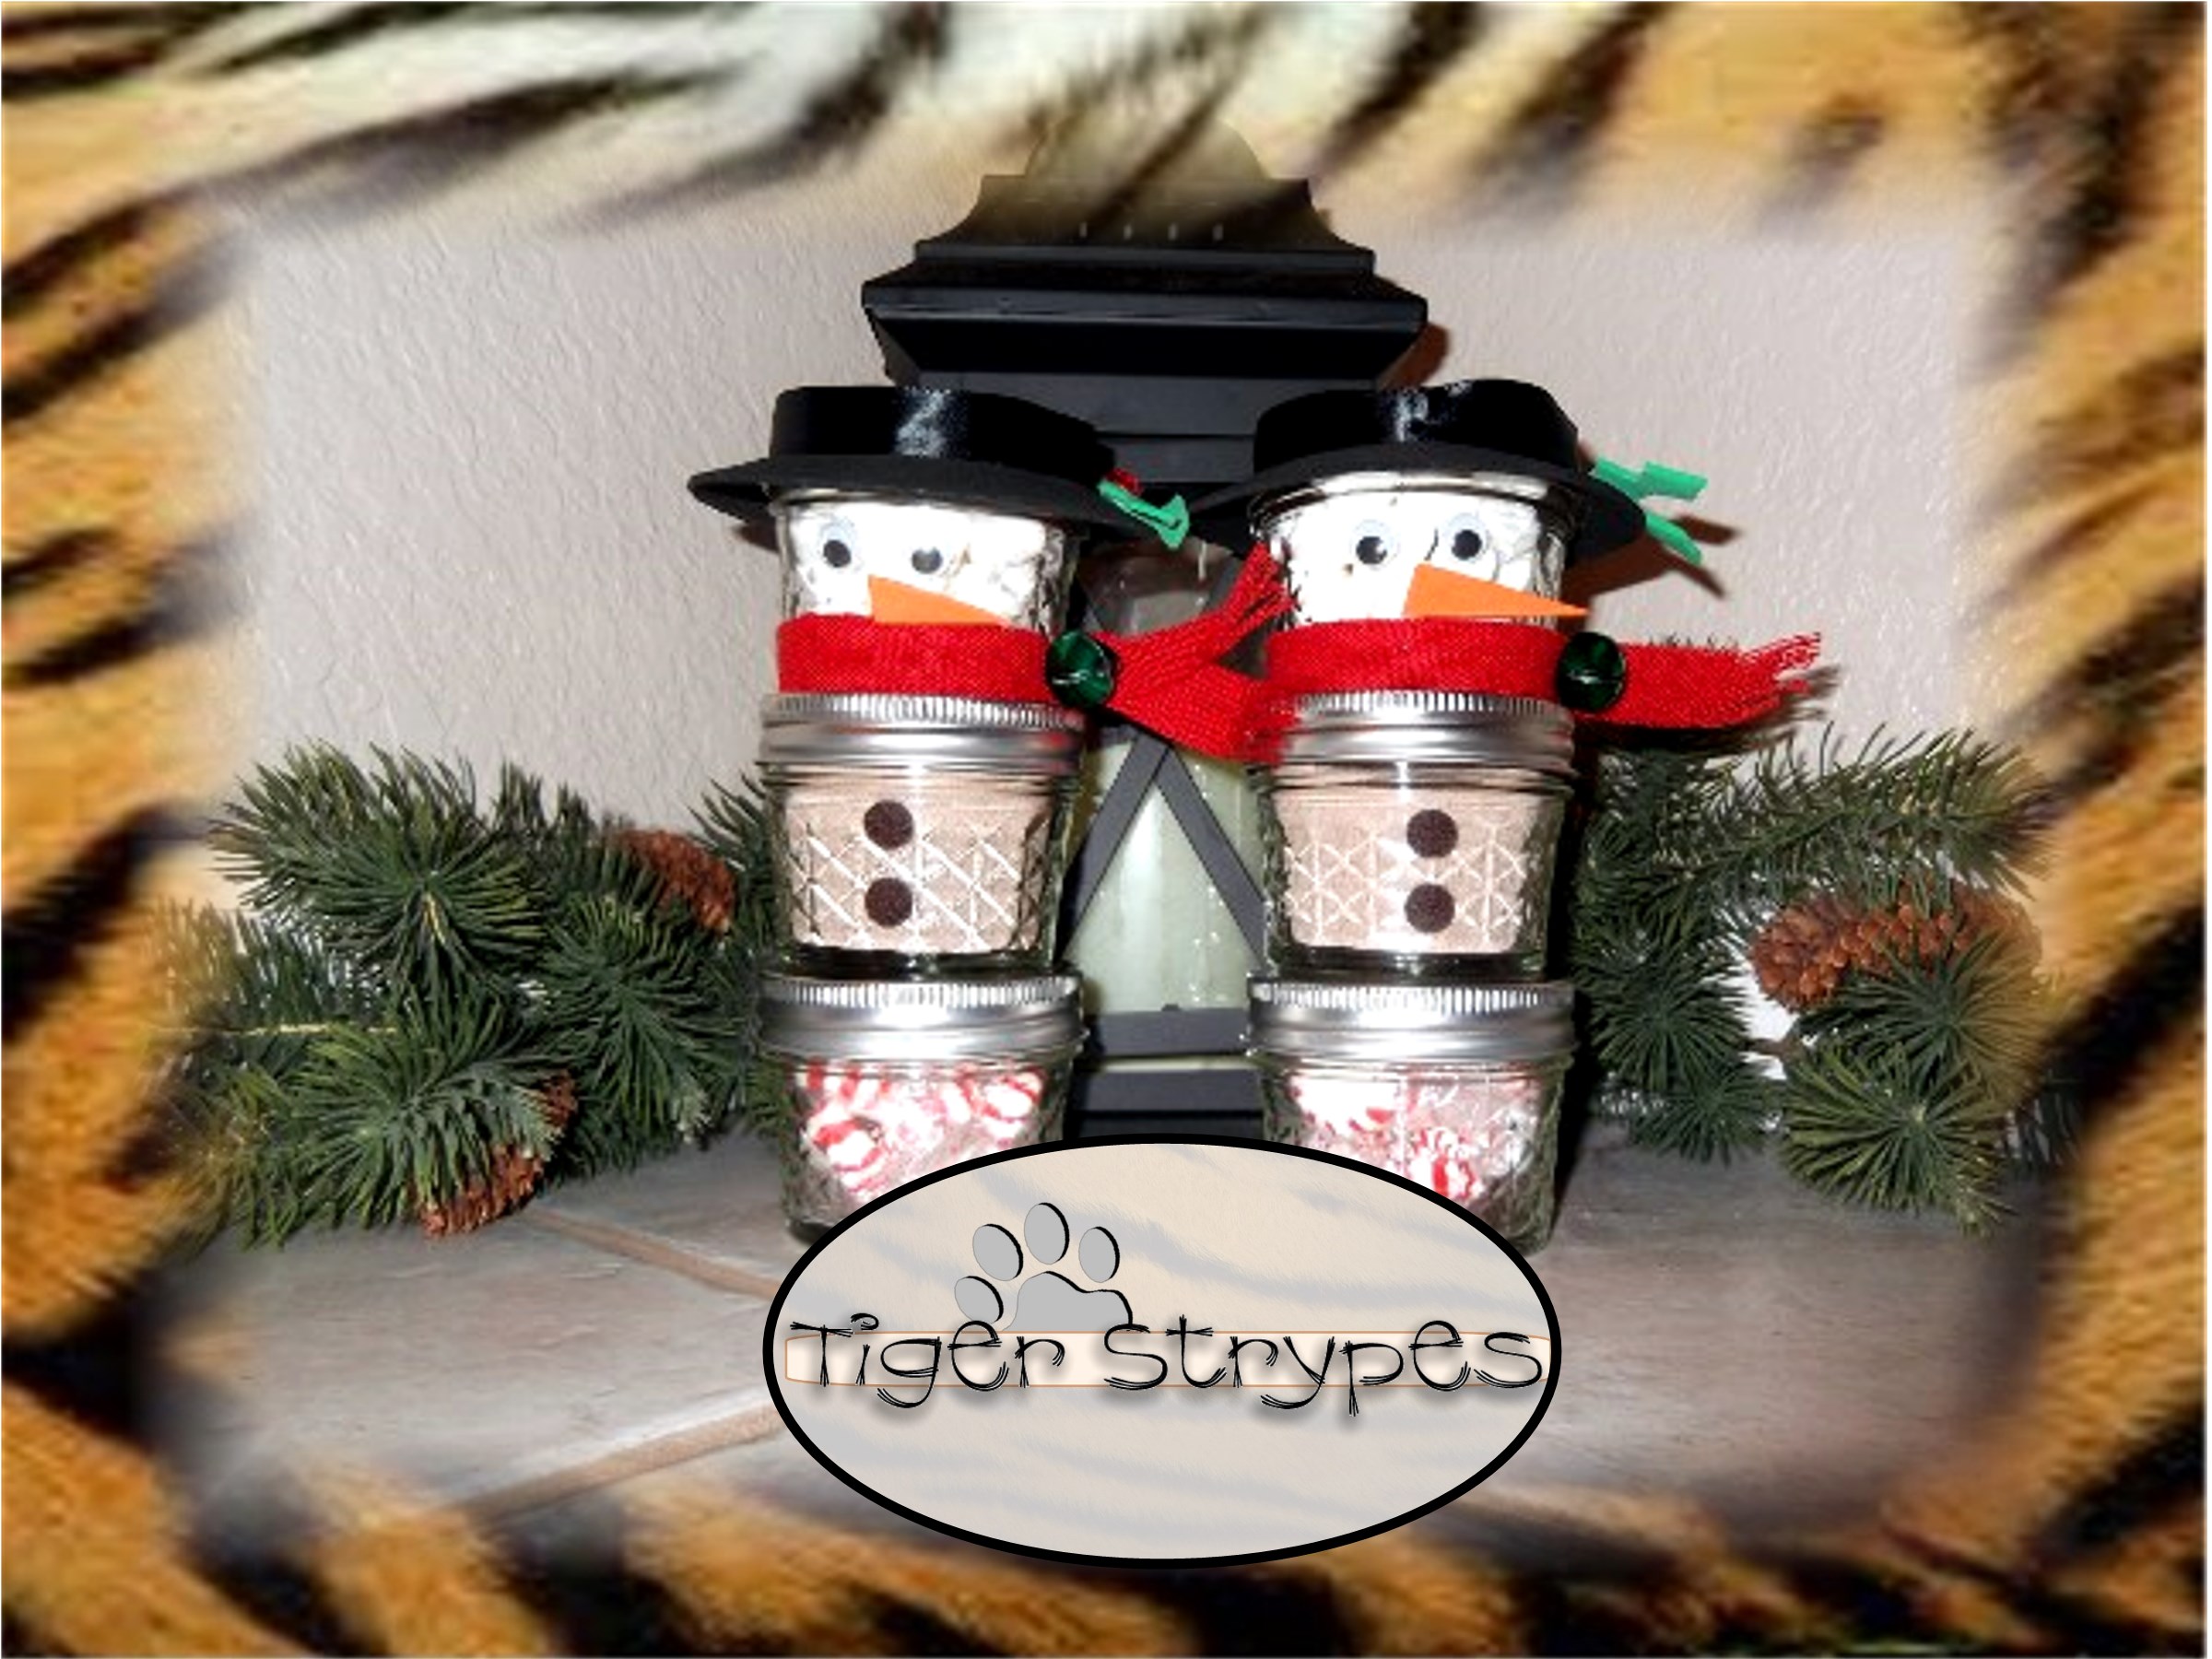
“Hot Chocolate Frosty” #TBCCrafters Hop
I saw something like this on Pinterest and wanted to make my own!! I thought they would be a great gift for friends and be easy to make. You could add anything to the bottom jar, I decided on mints, since we love Peppermint Hot Chocolate. You could also decorate this however you wish. Hopefully this will give you a bit of an idea for what to make to celebrate this CHRISTmas season!! Since we’ve got the next few weeks off from #TBCCrafters, I want to wish everyone a Merry Christmas and a blessed New Year from the Tomkins’ Family in Lakeside, AZ!!
Please be sure to comment and share this #TBCCrafters craft, I hope you like it!!
“Hot Chocolate Frosty” Craft
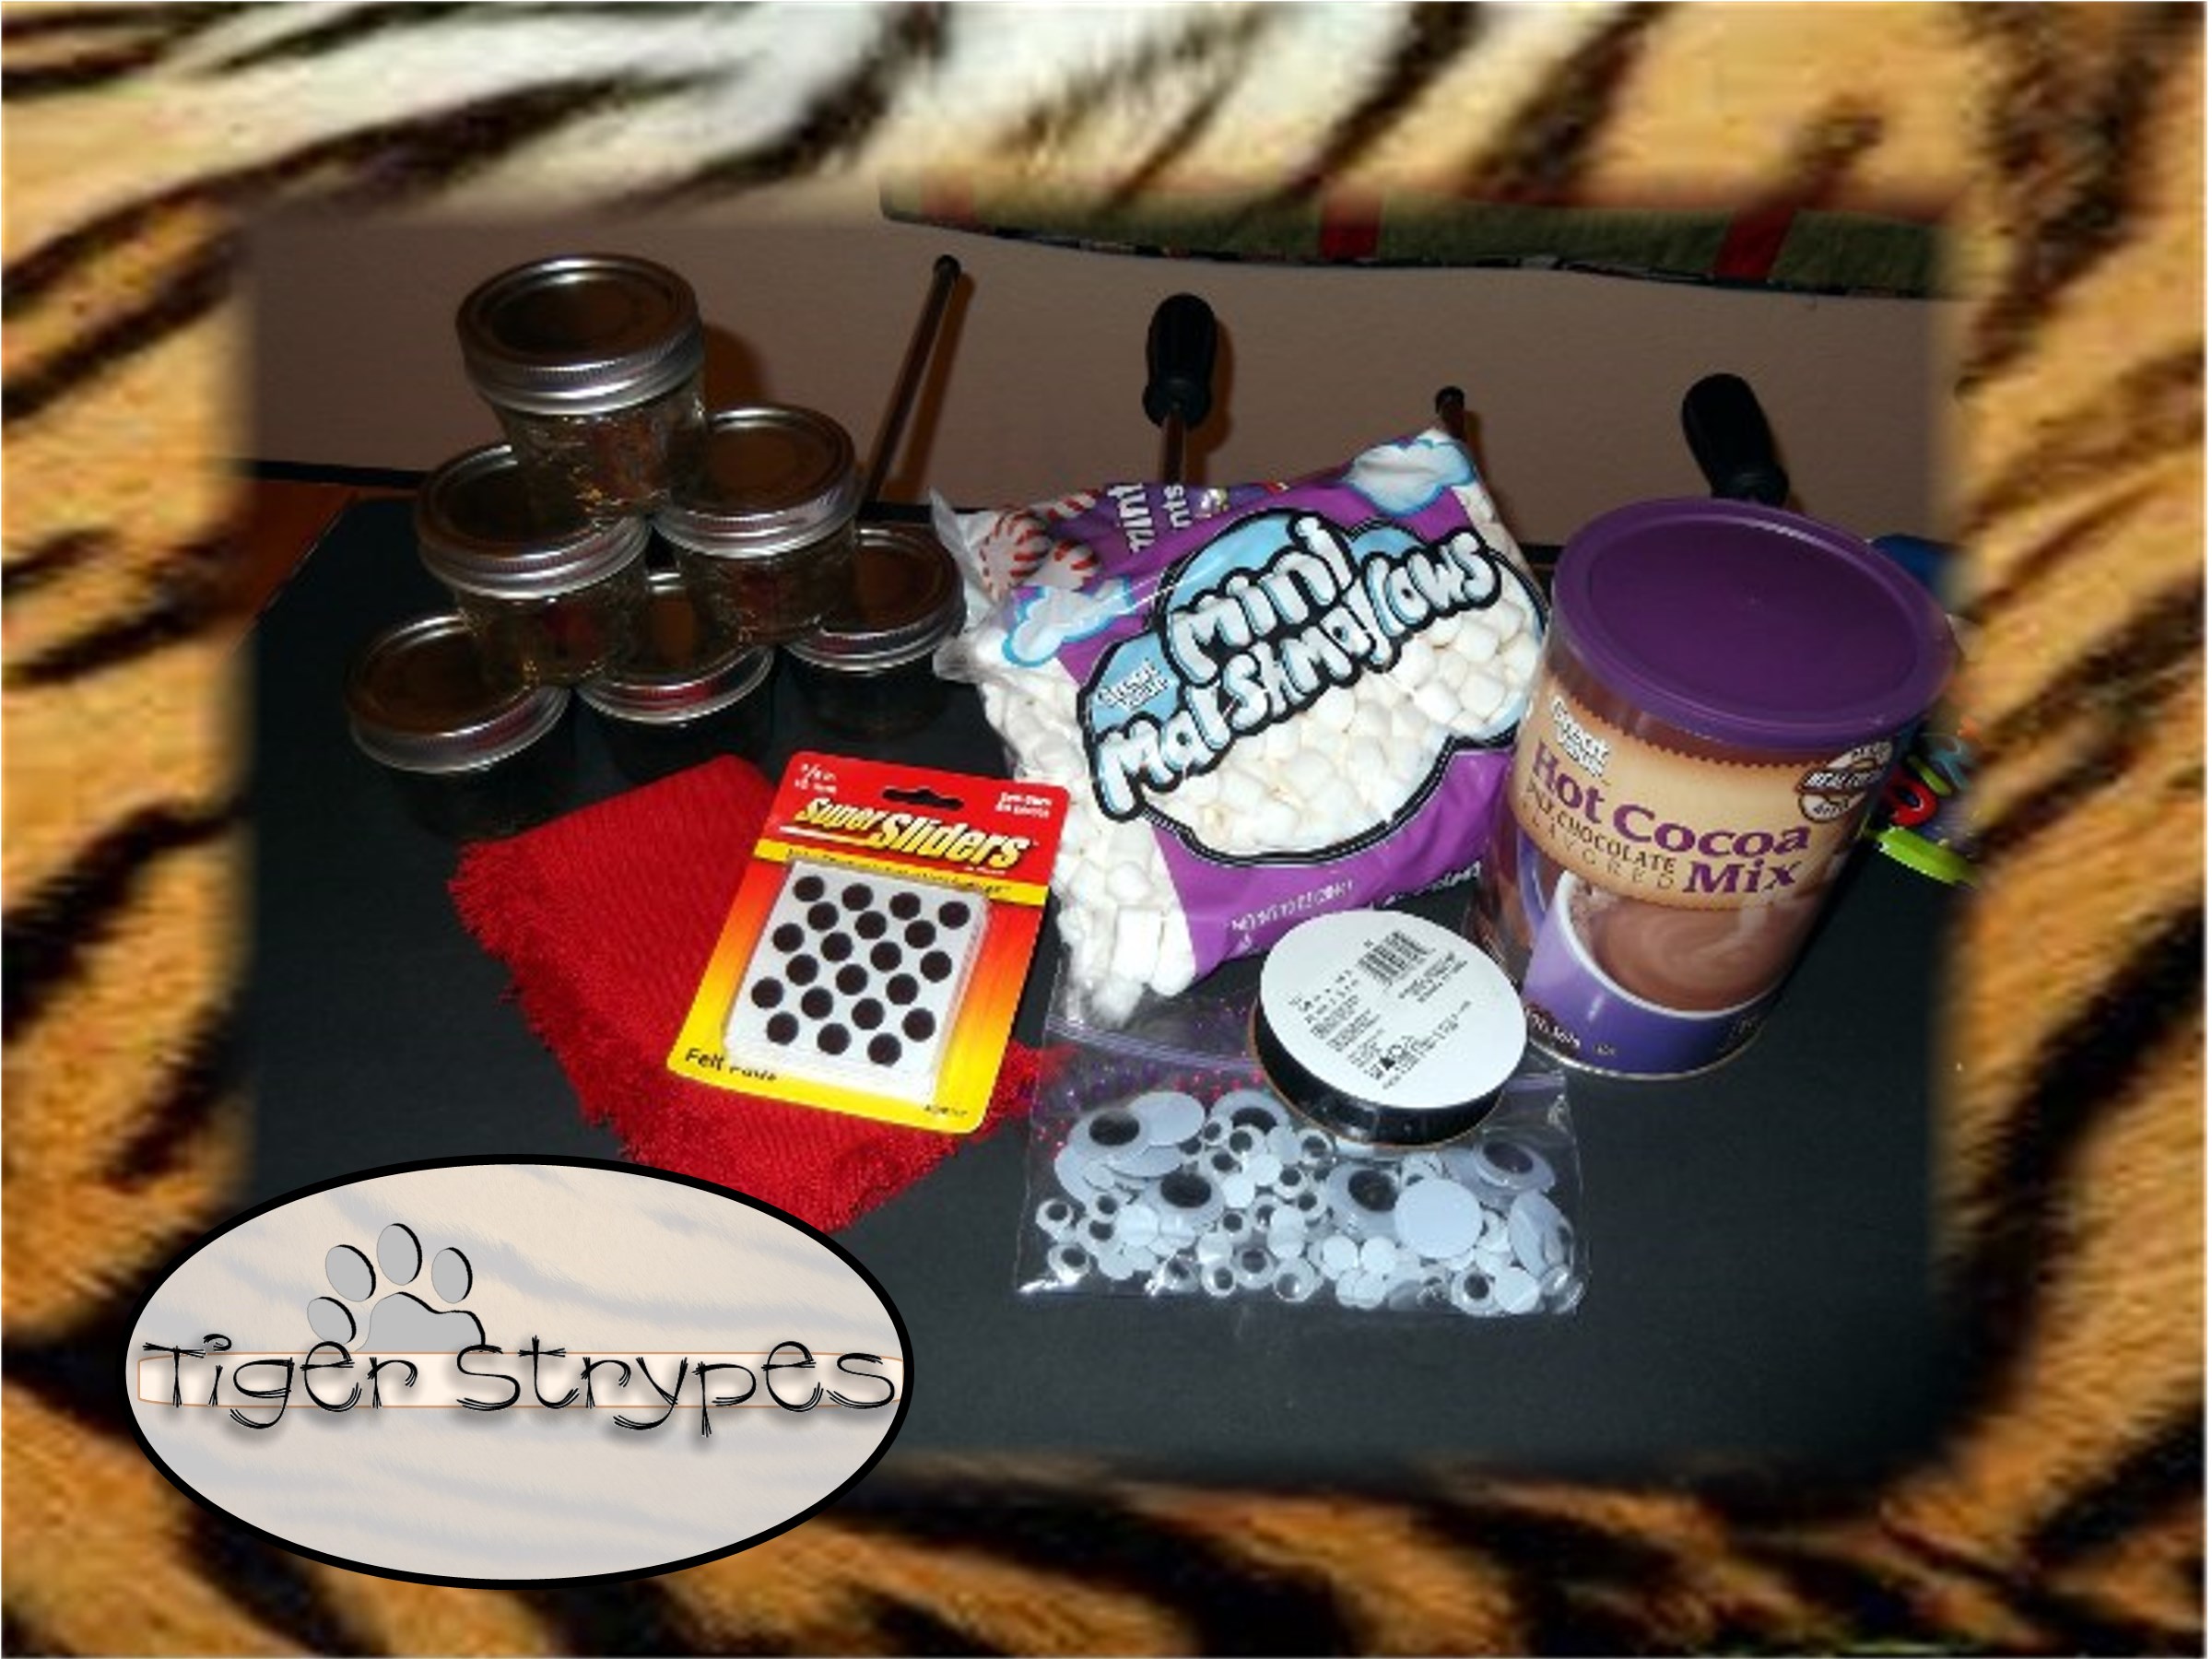
Materials/Tools Needed:
- Small Canning Jars
- Black Ribbon
- Black Felt or Foam Board
- Orange Felt or Foam Board
- Decorative Material (for scarf)
- Googly Eyes
- Hot Cocoa Mix
- Mini Marshmallows
- Candies
- Glue Gun
- Embellishments
- & Time!
Instructions:
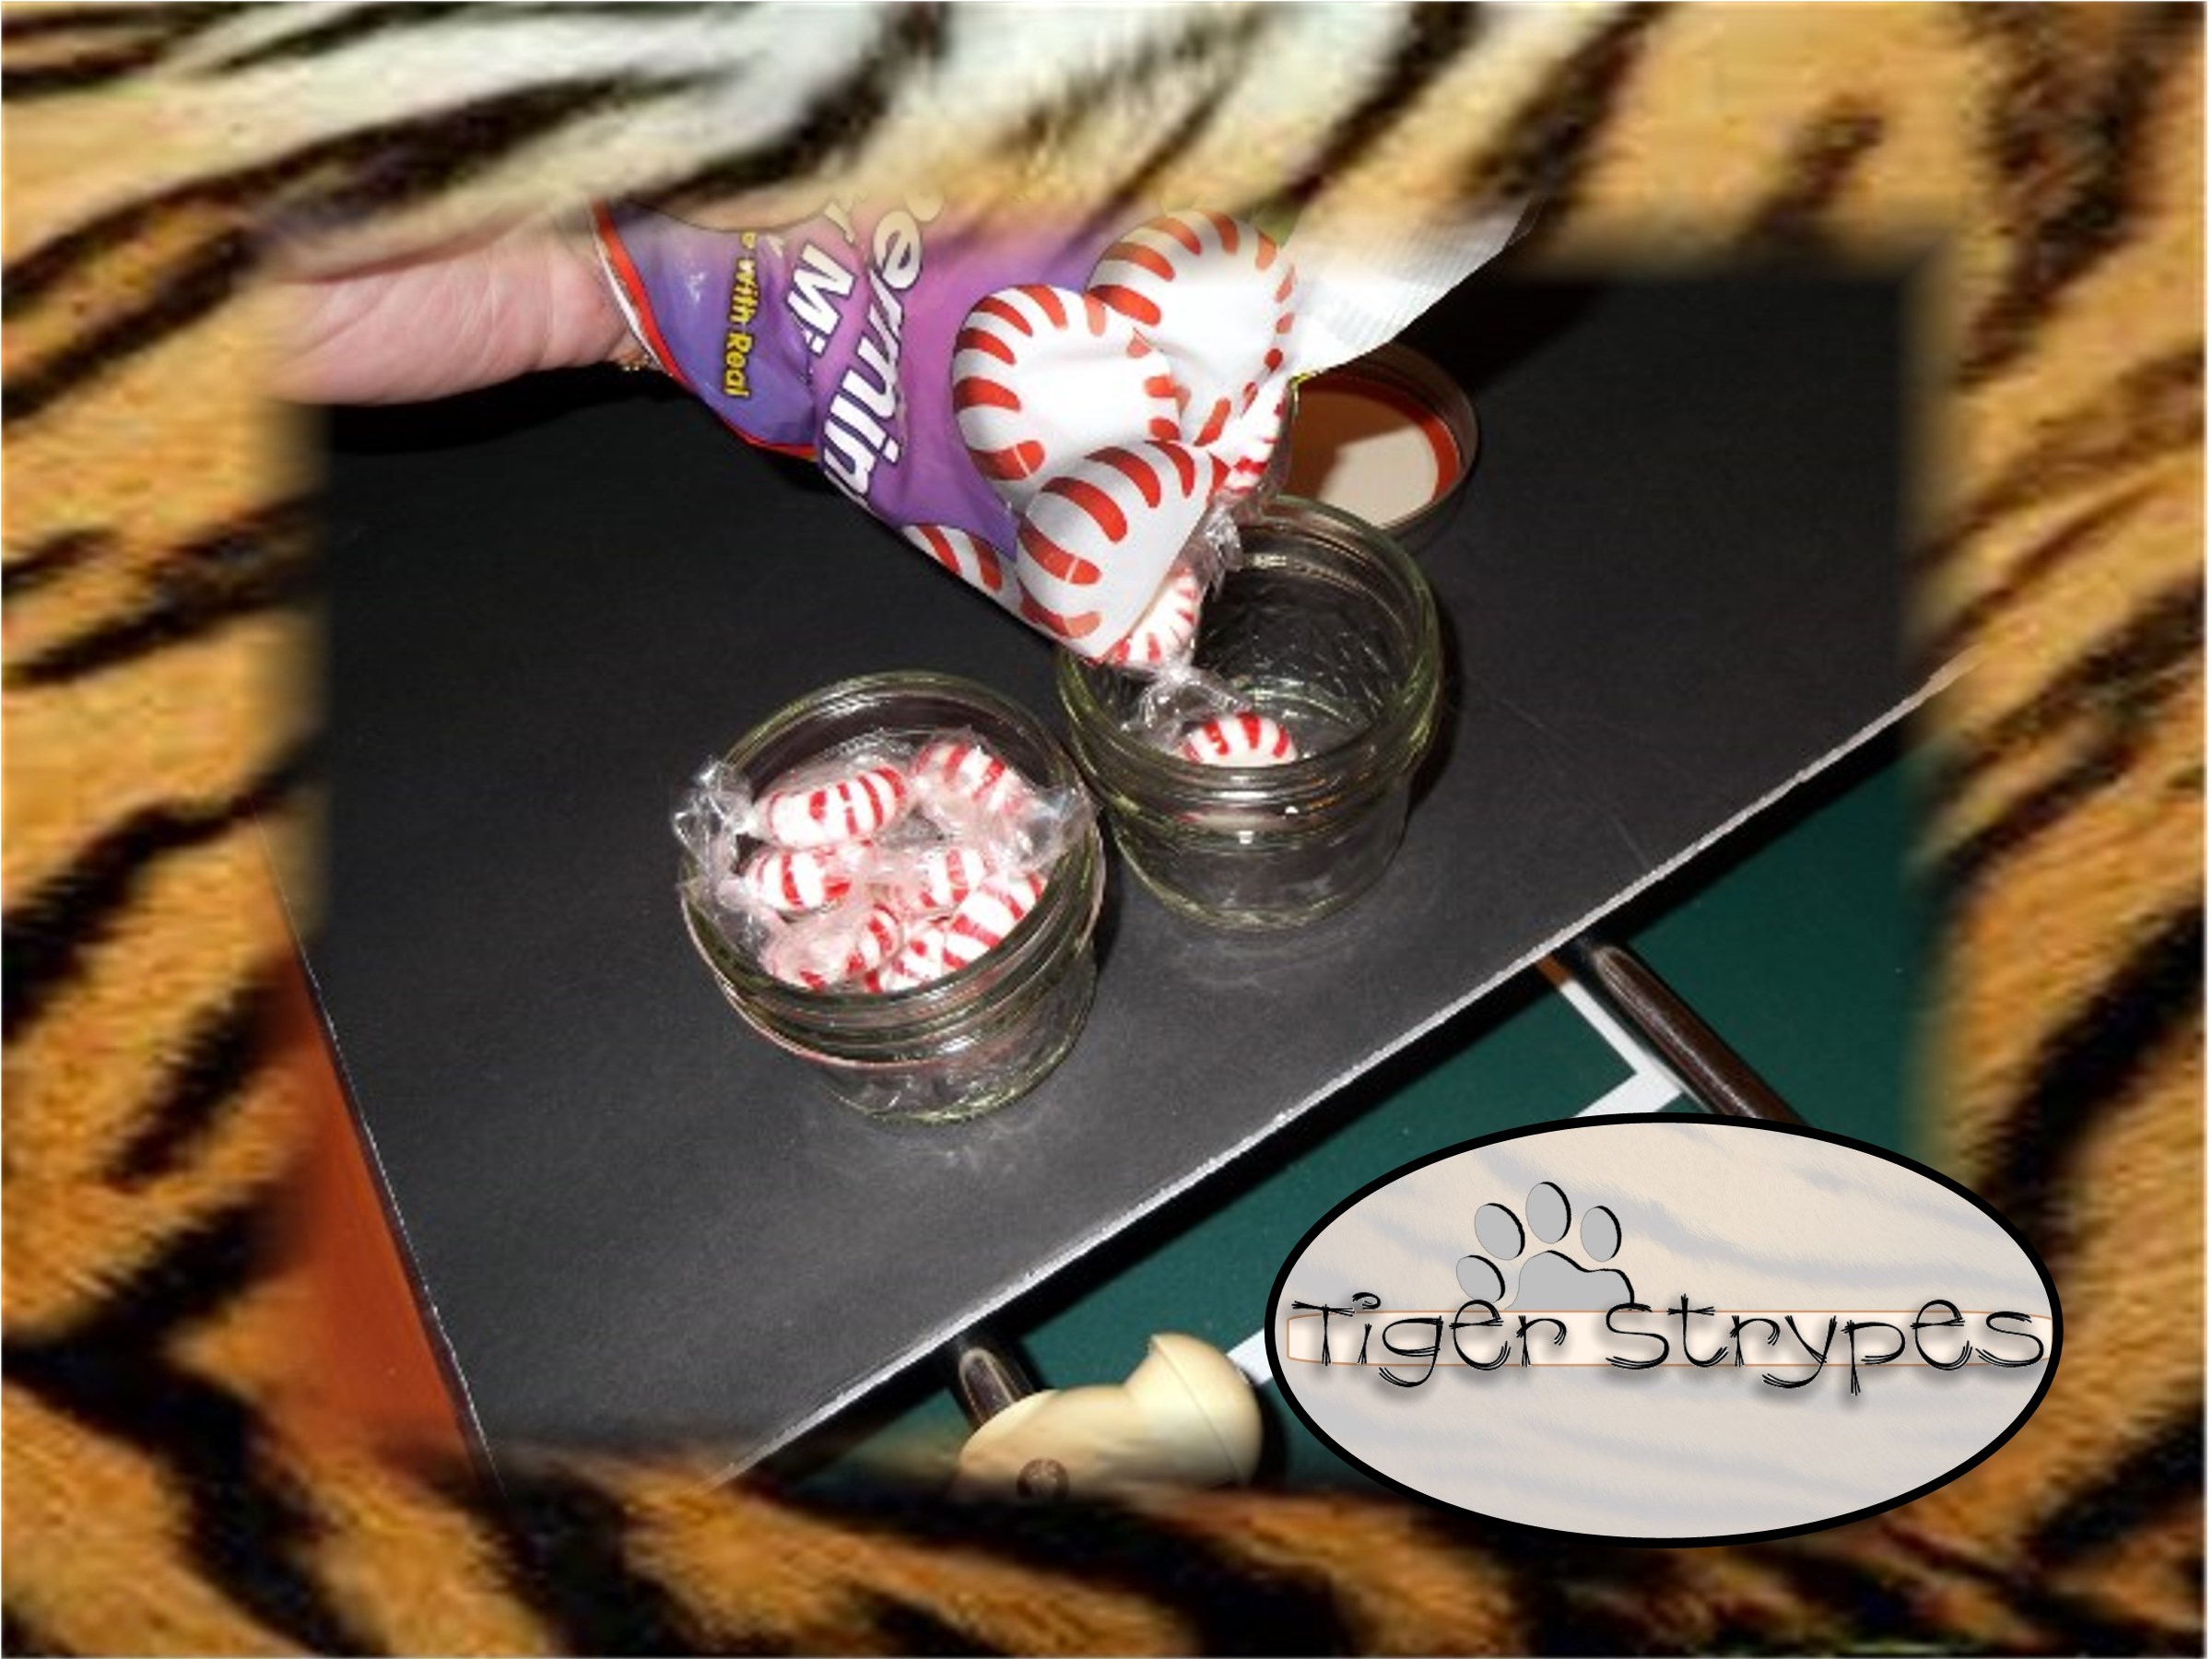
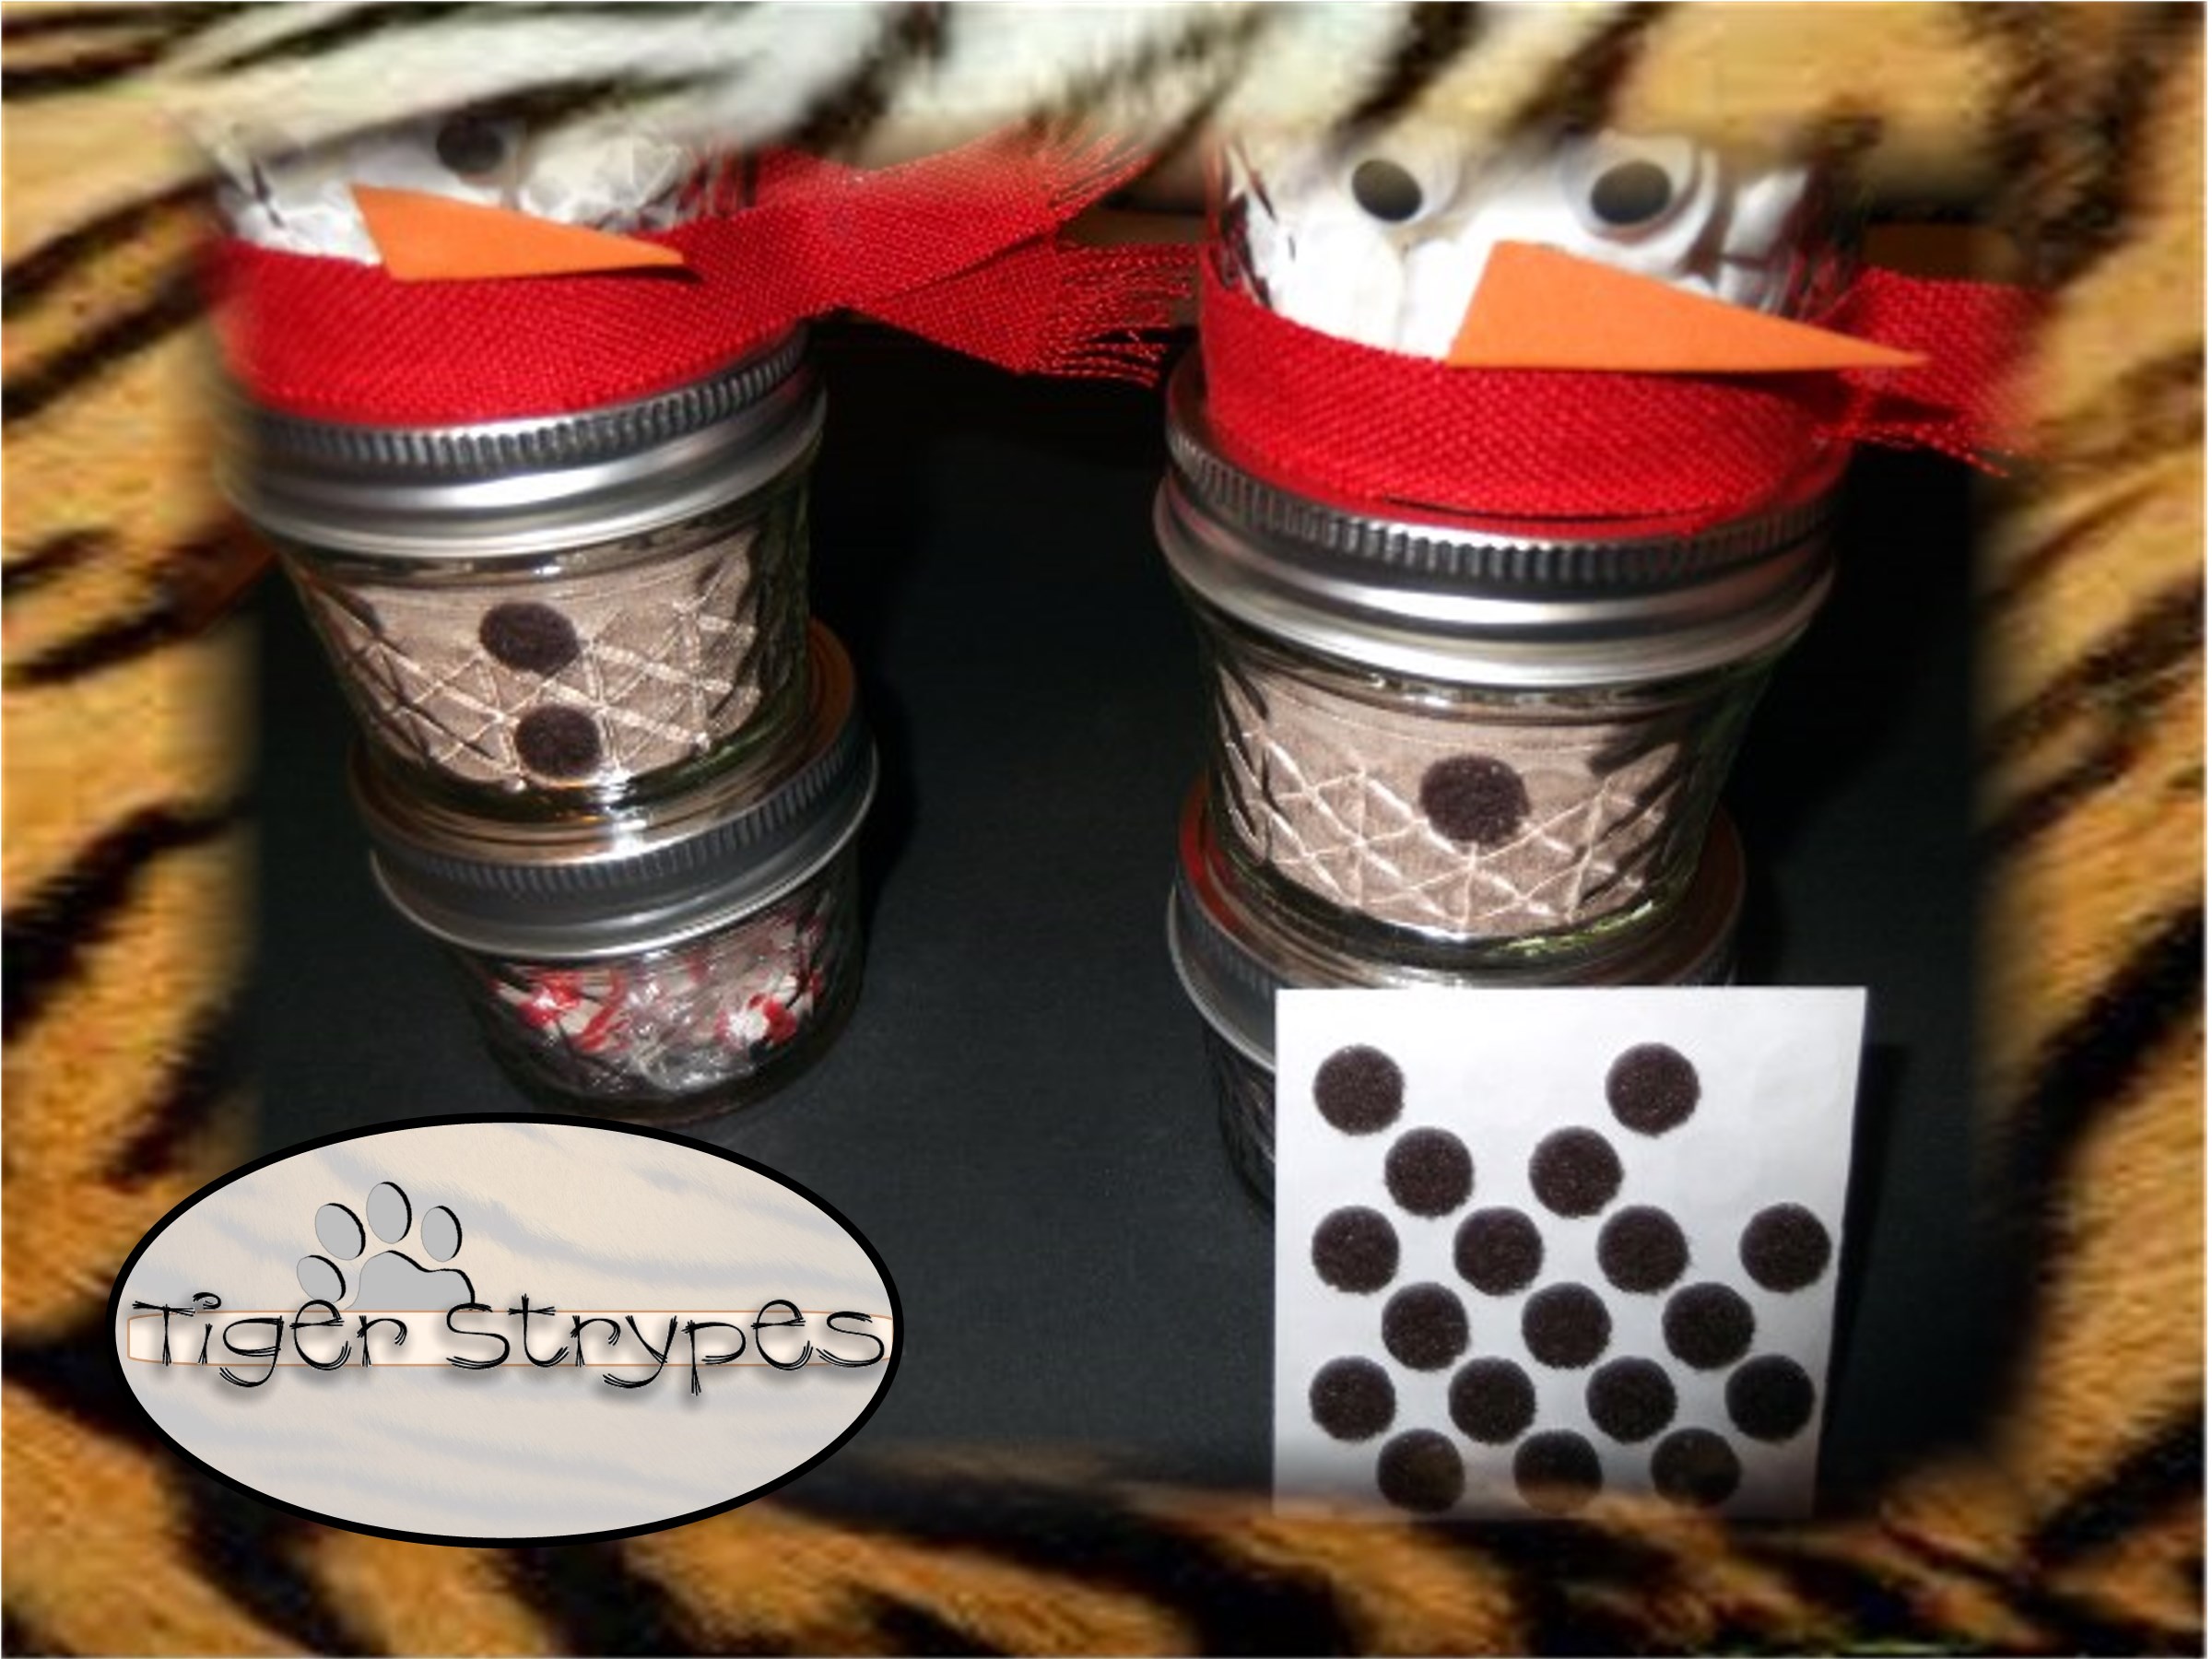
Being by warming up your glue gun. Then start to fill the bottom jars. Fill the lowest one with whatever kind of candy you wish to use. We chose peppermints to add to our hot cocoa.
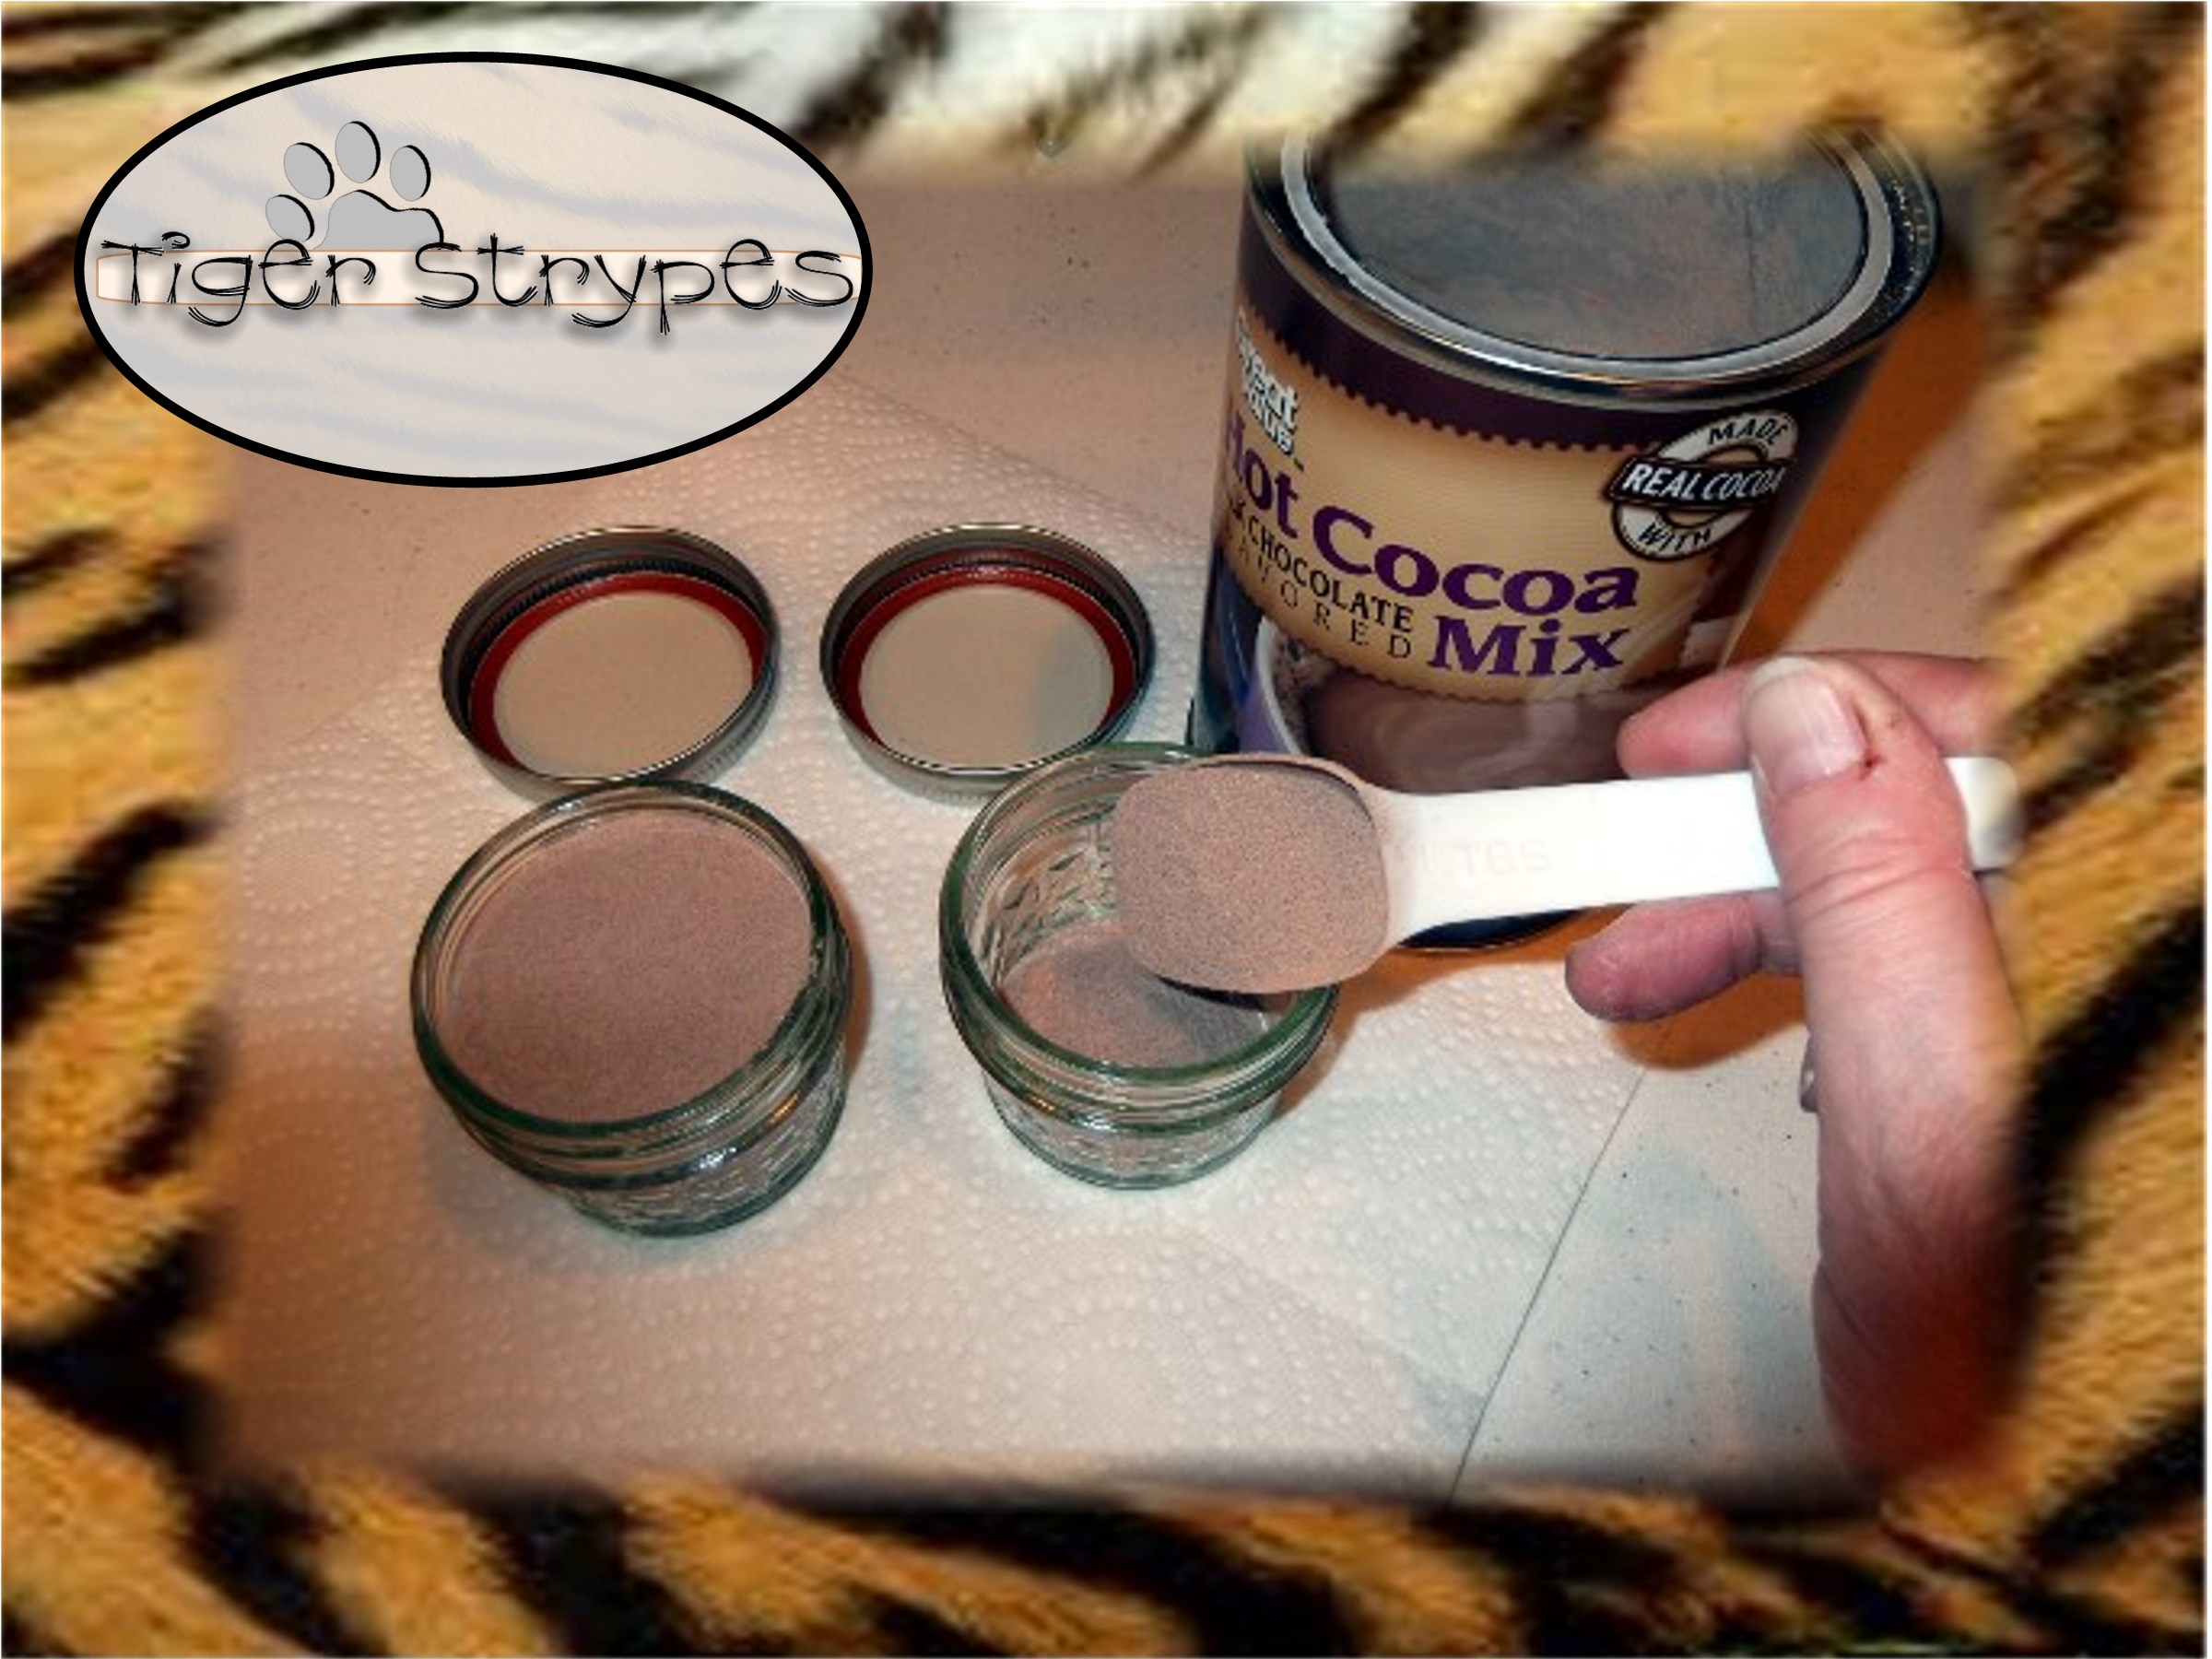
Next fill your middle jar with the hot cocoa mix to just about full. Make sure that you’ll still be able to put the top lid on without a problem.
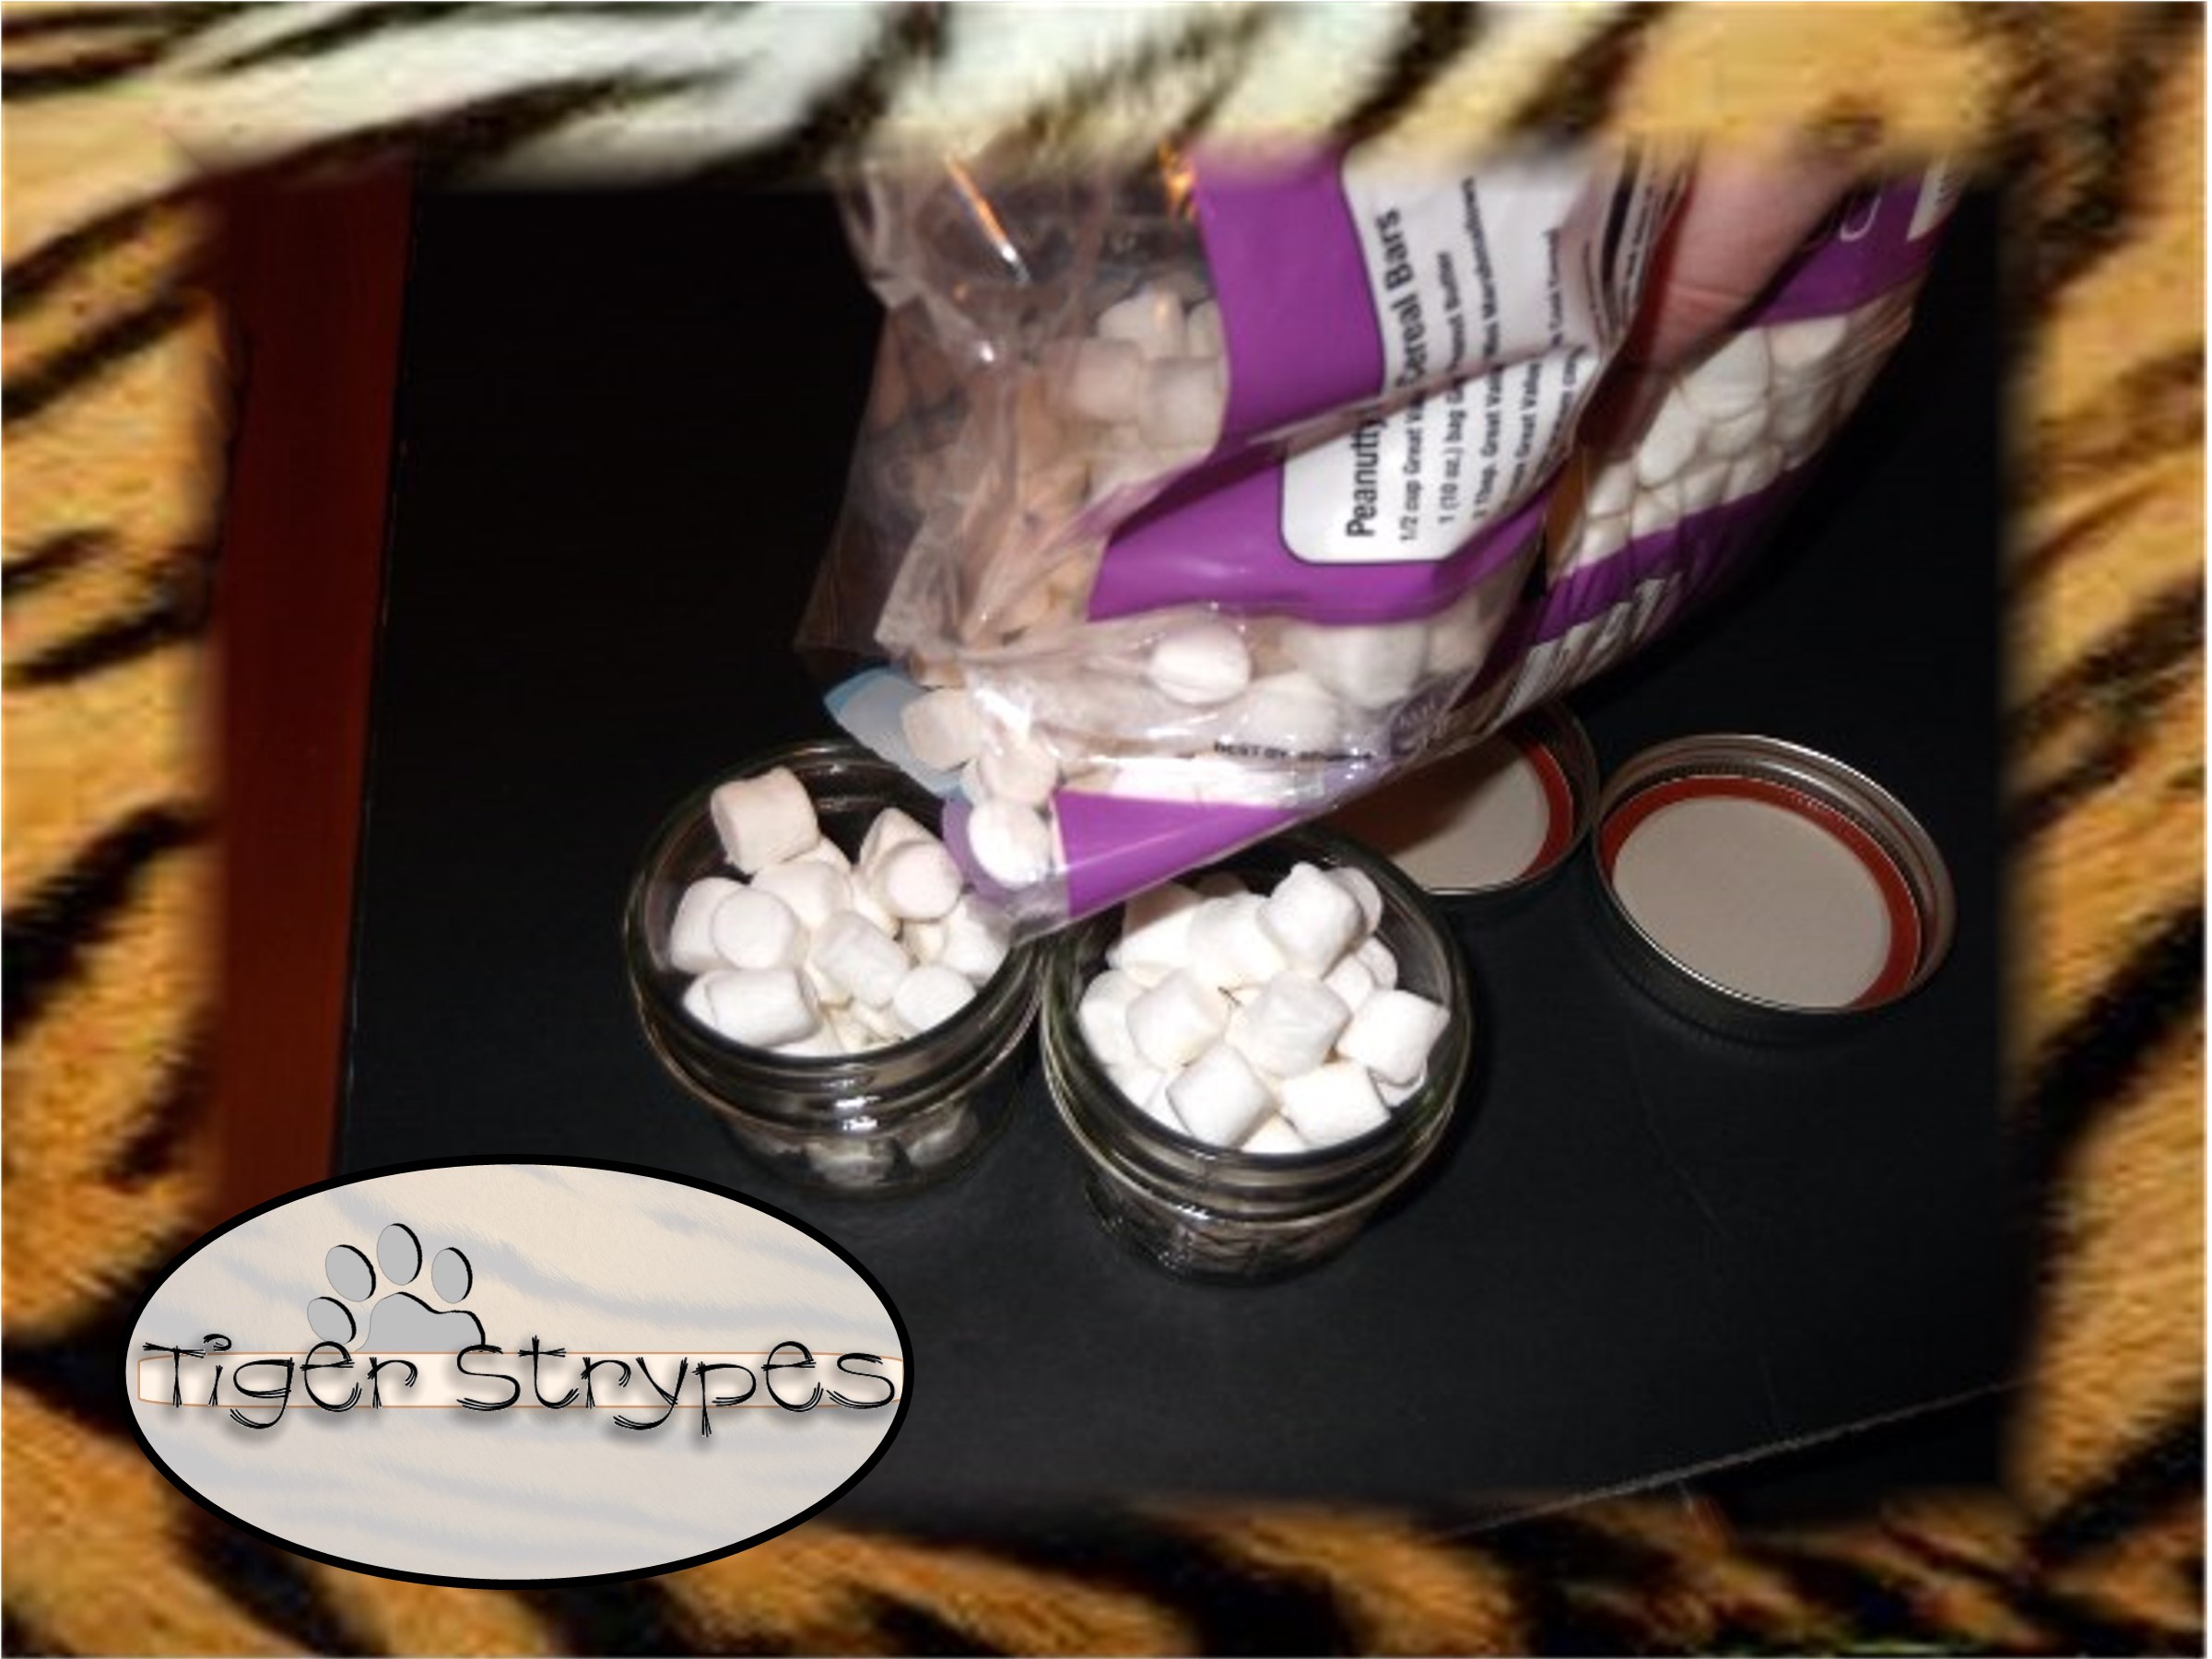
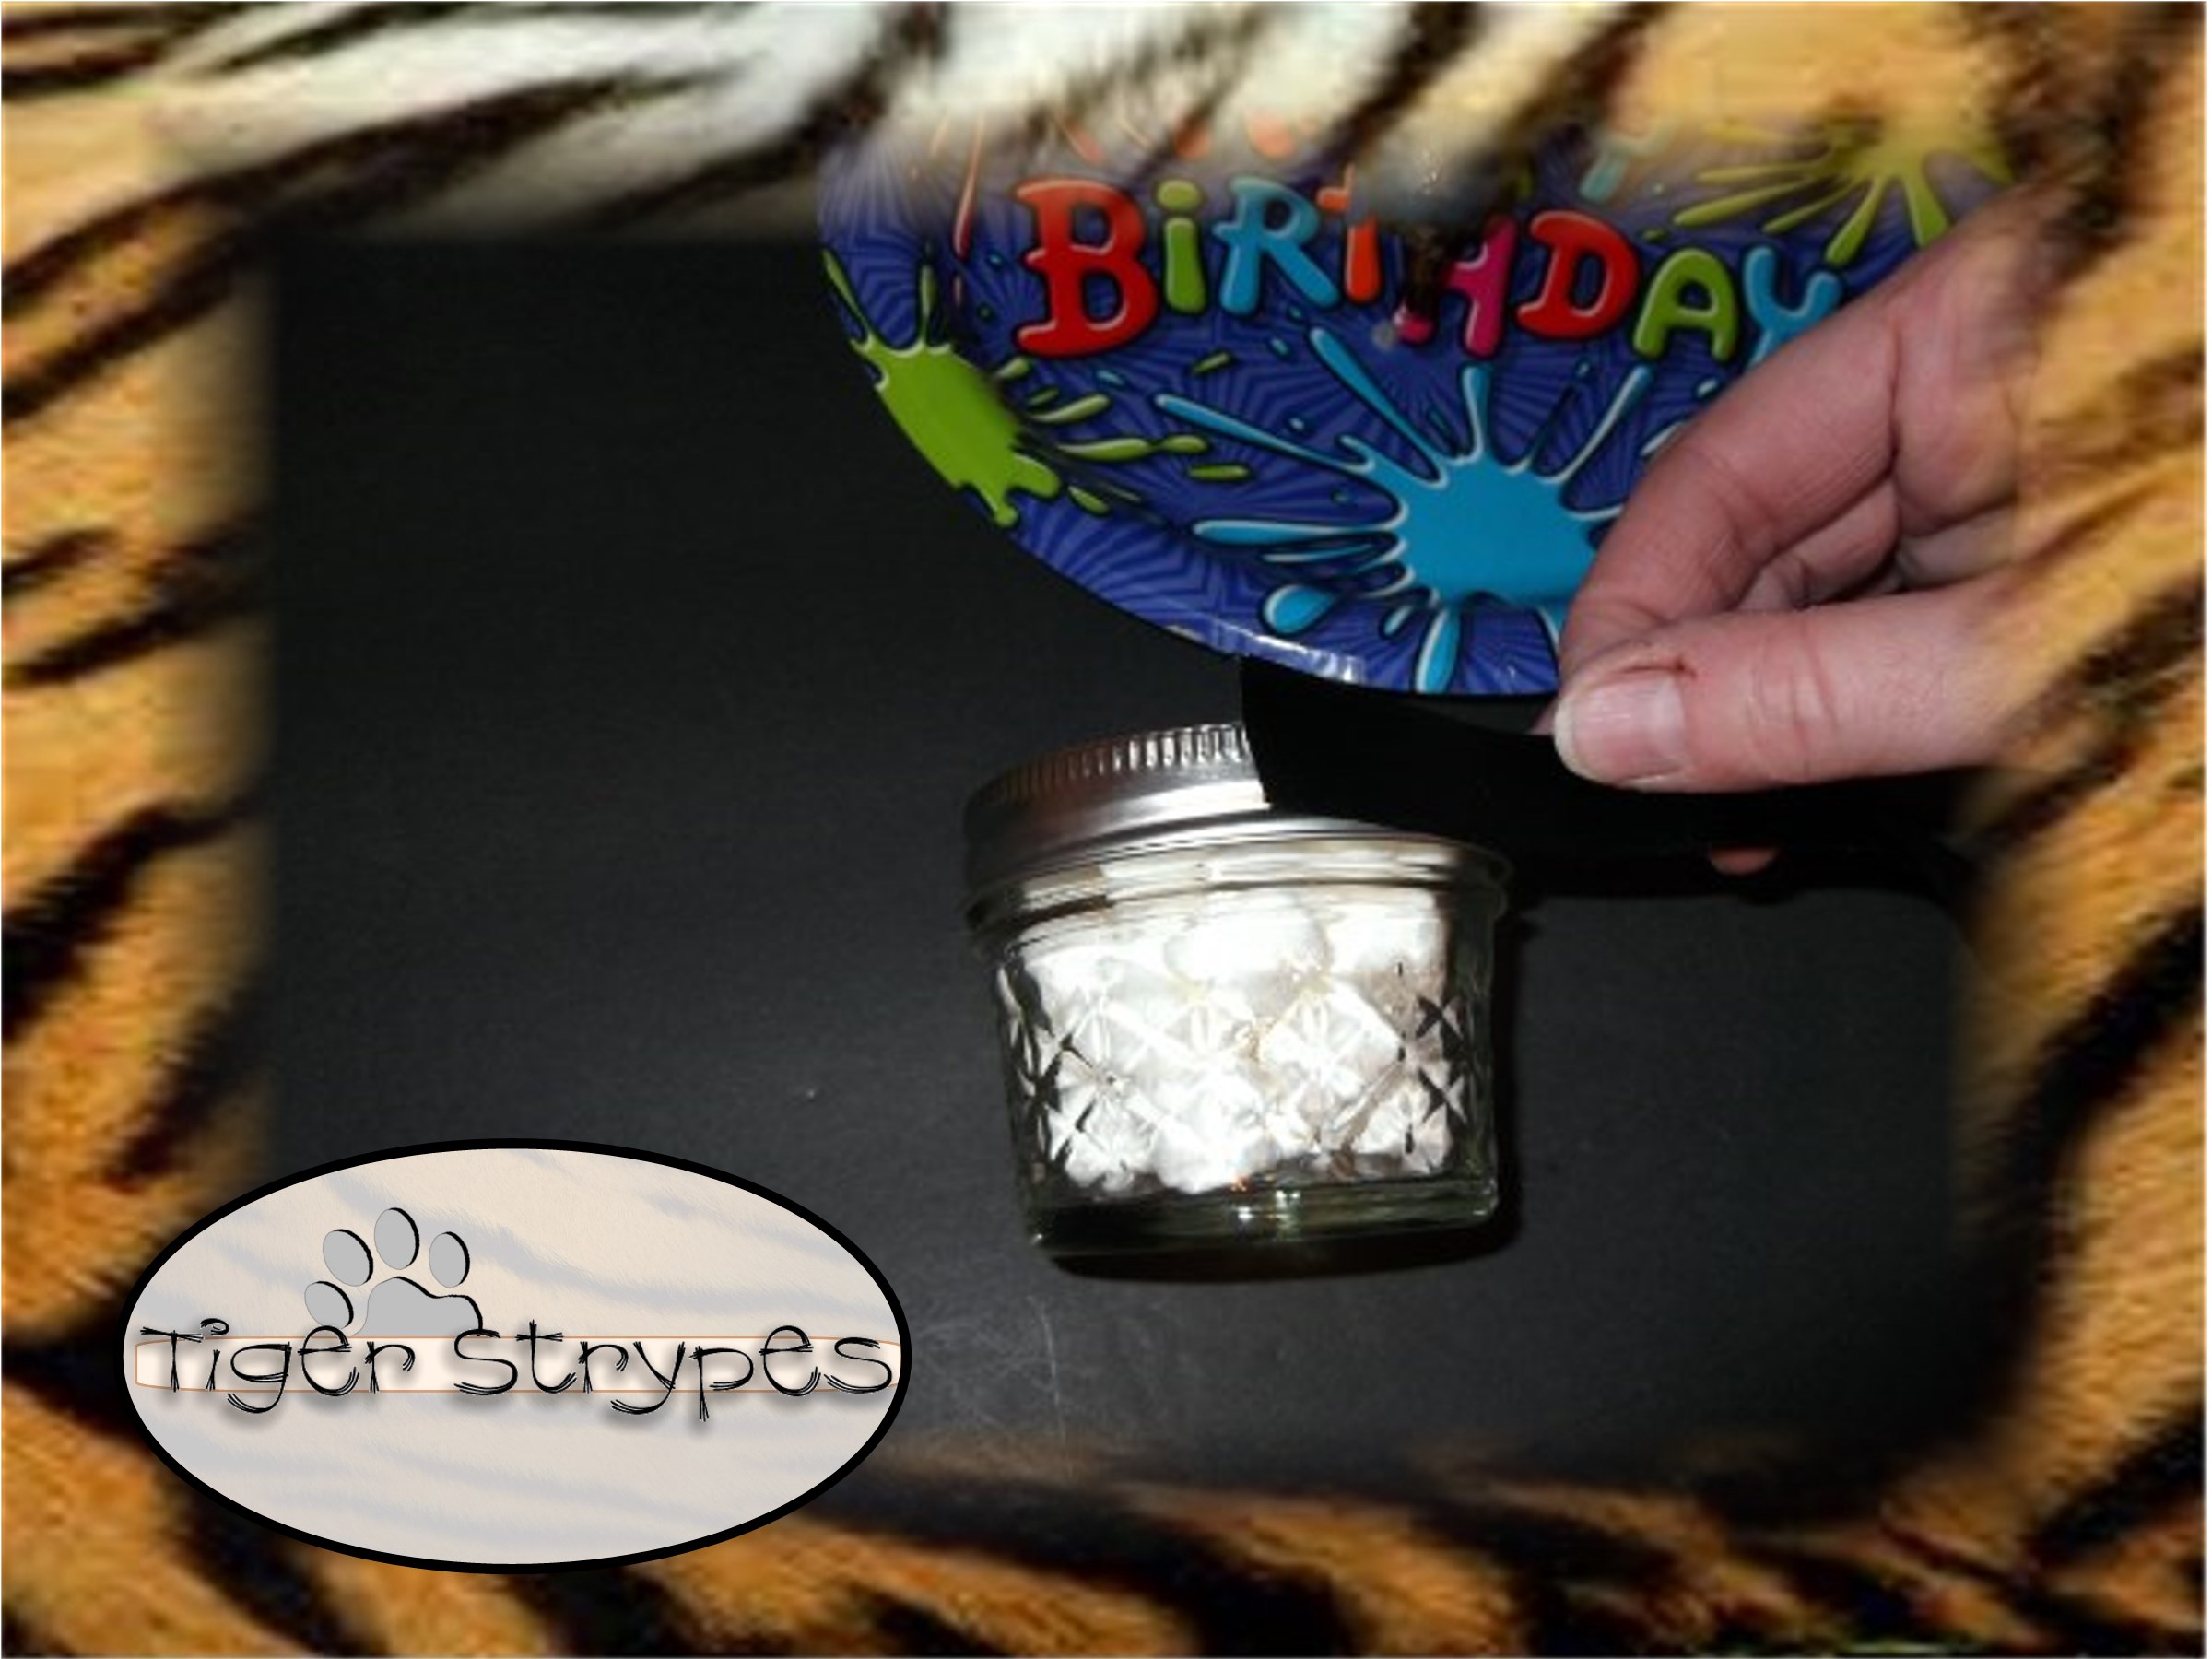
After you have those filled and lids on, you can begin on the “head” piece. Start by filling it with the mini marshmallows.
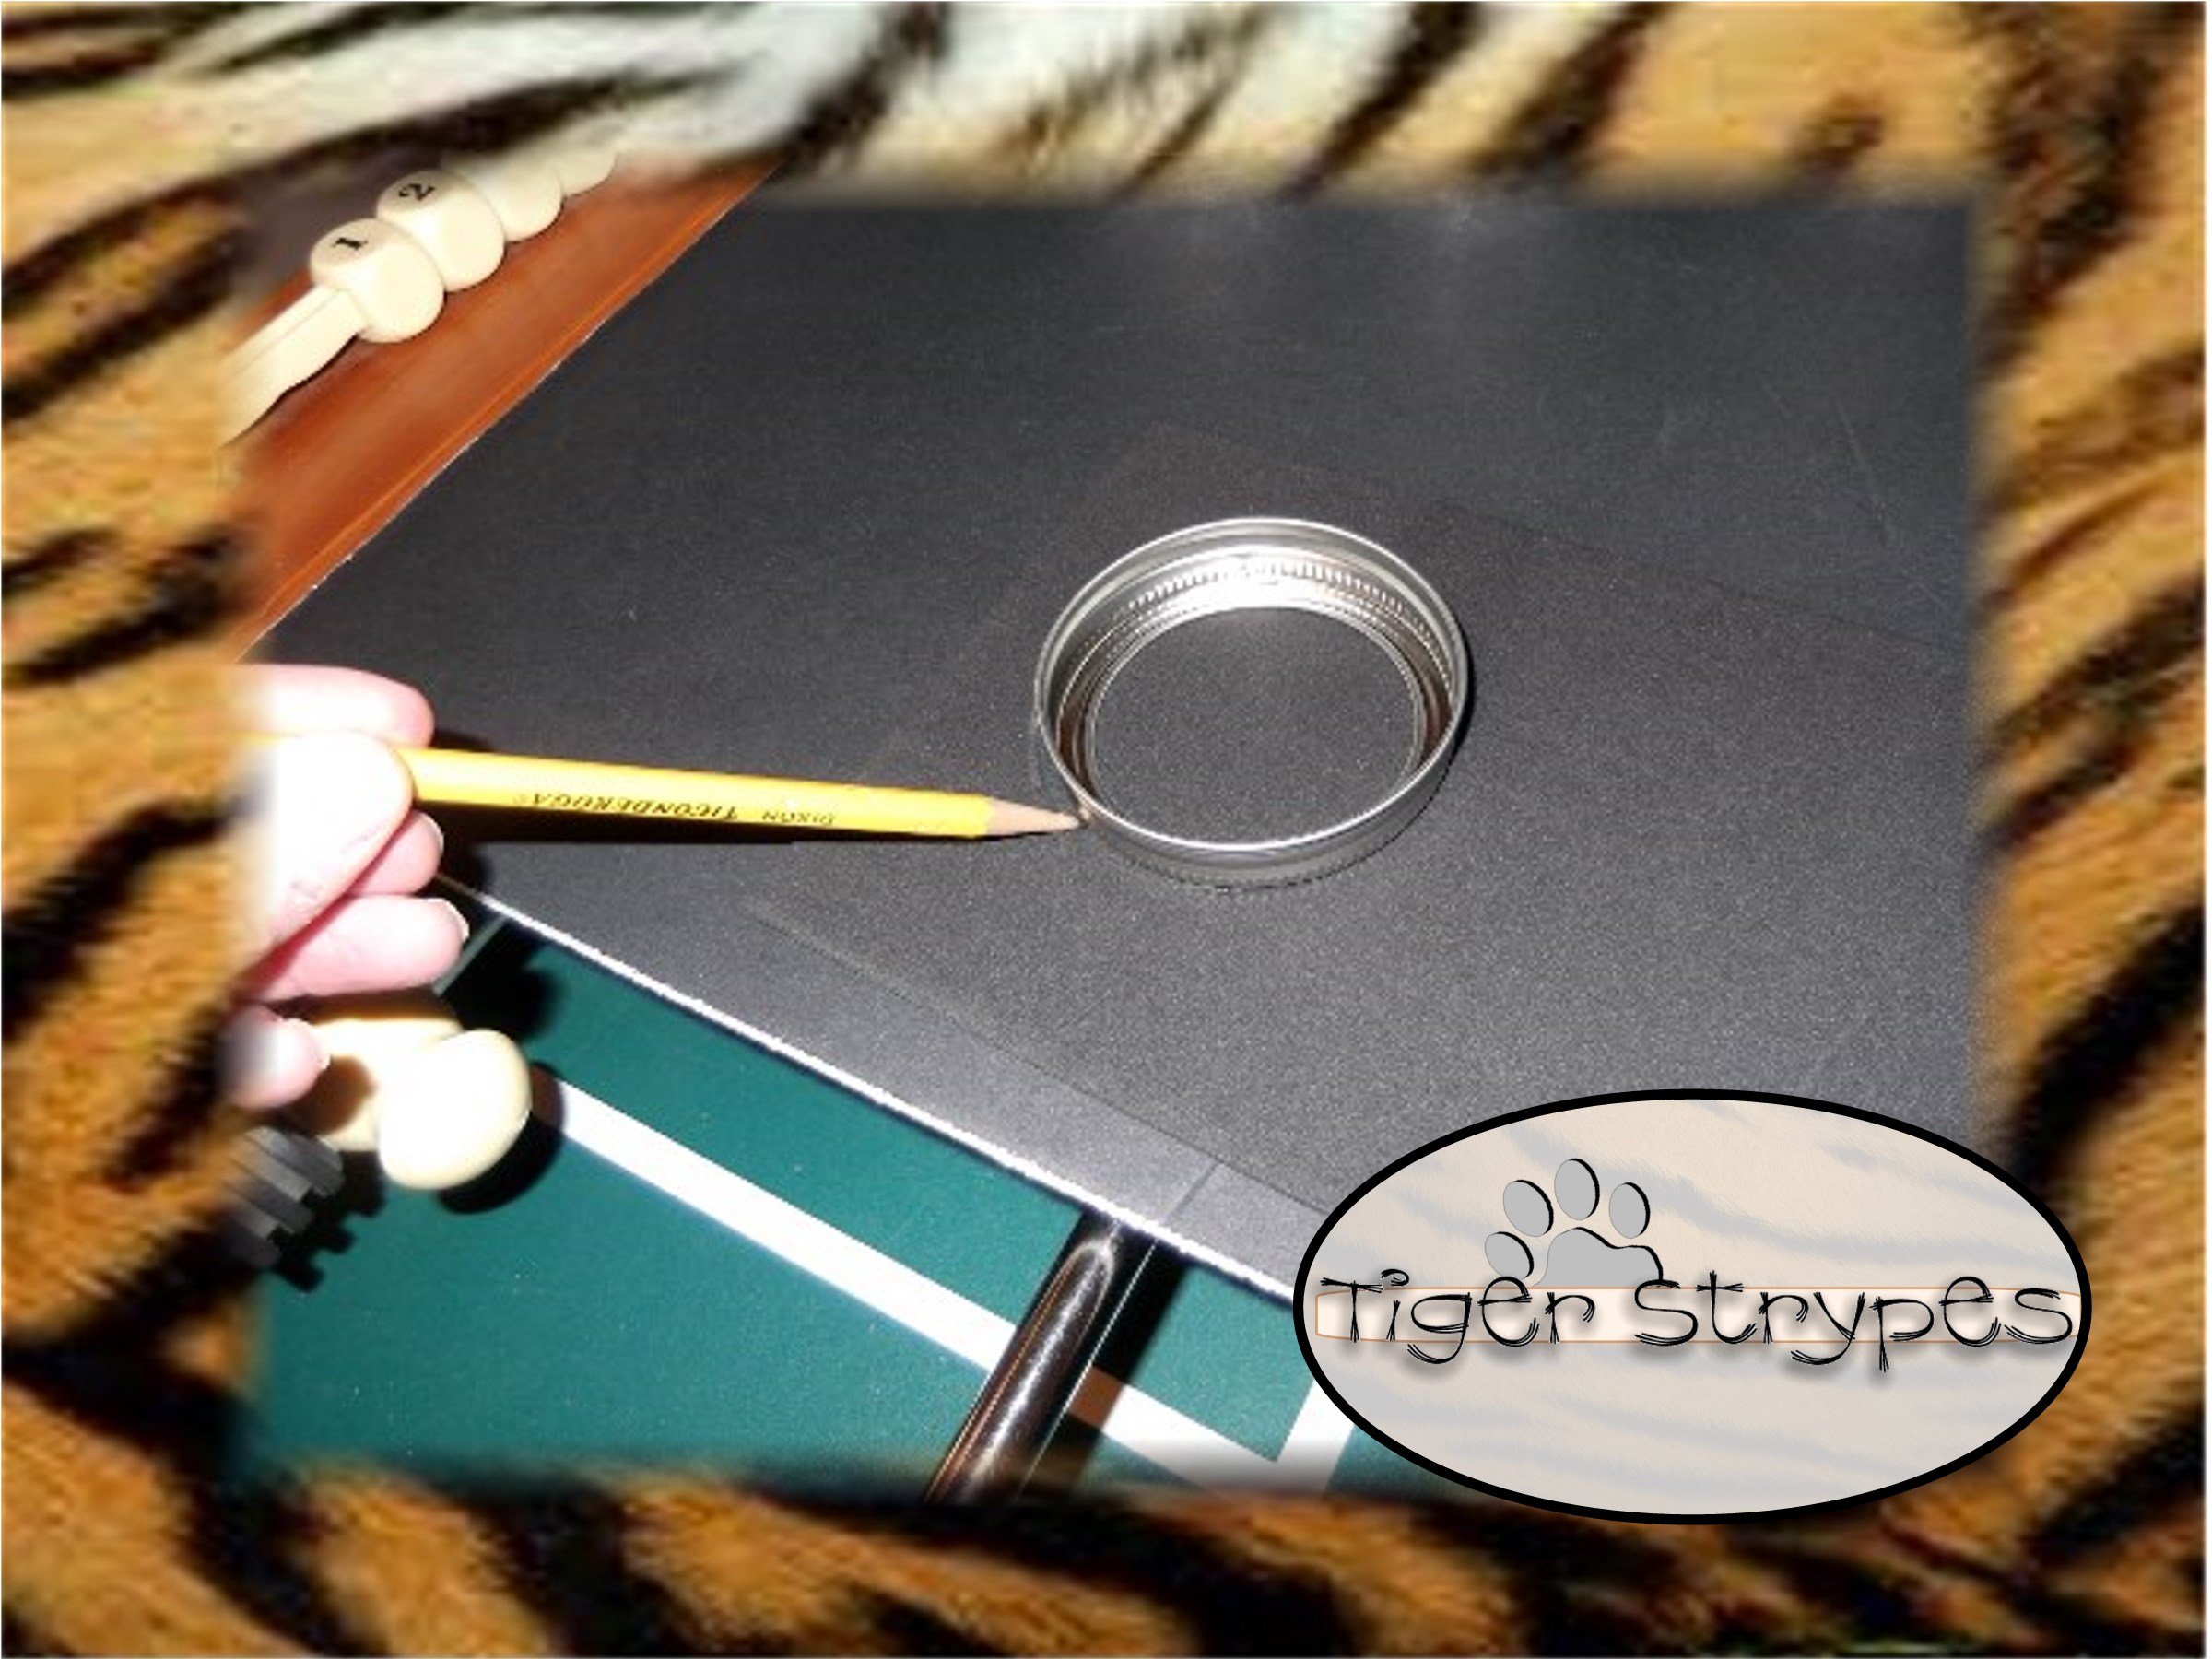
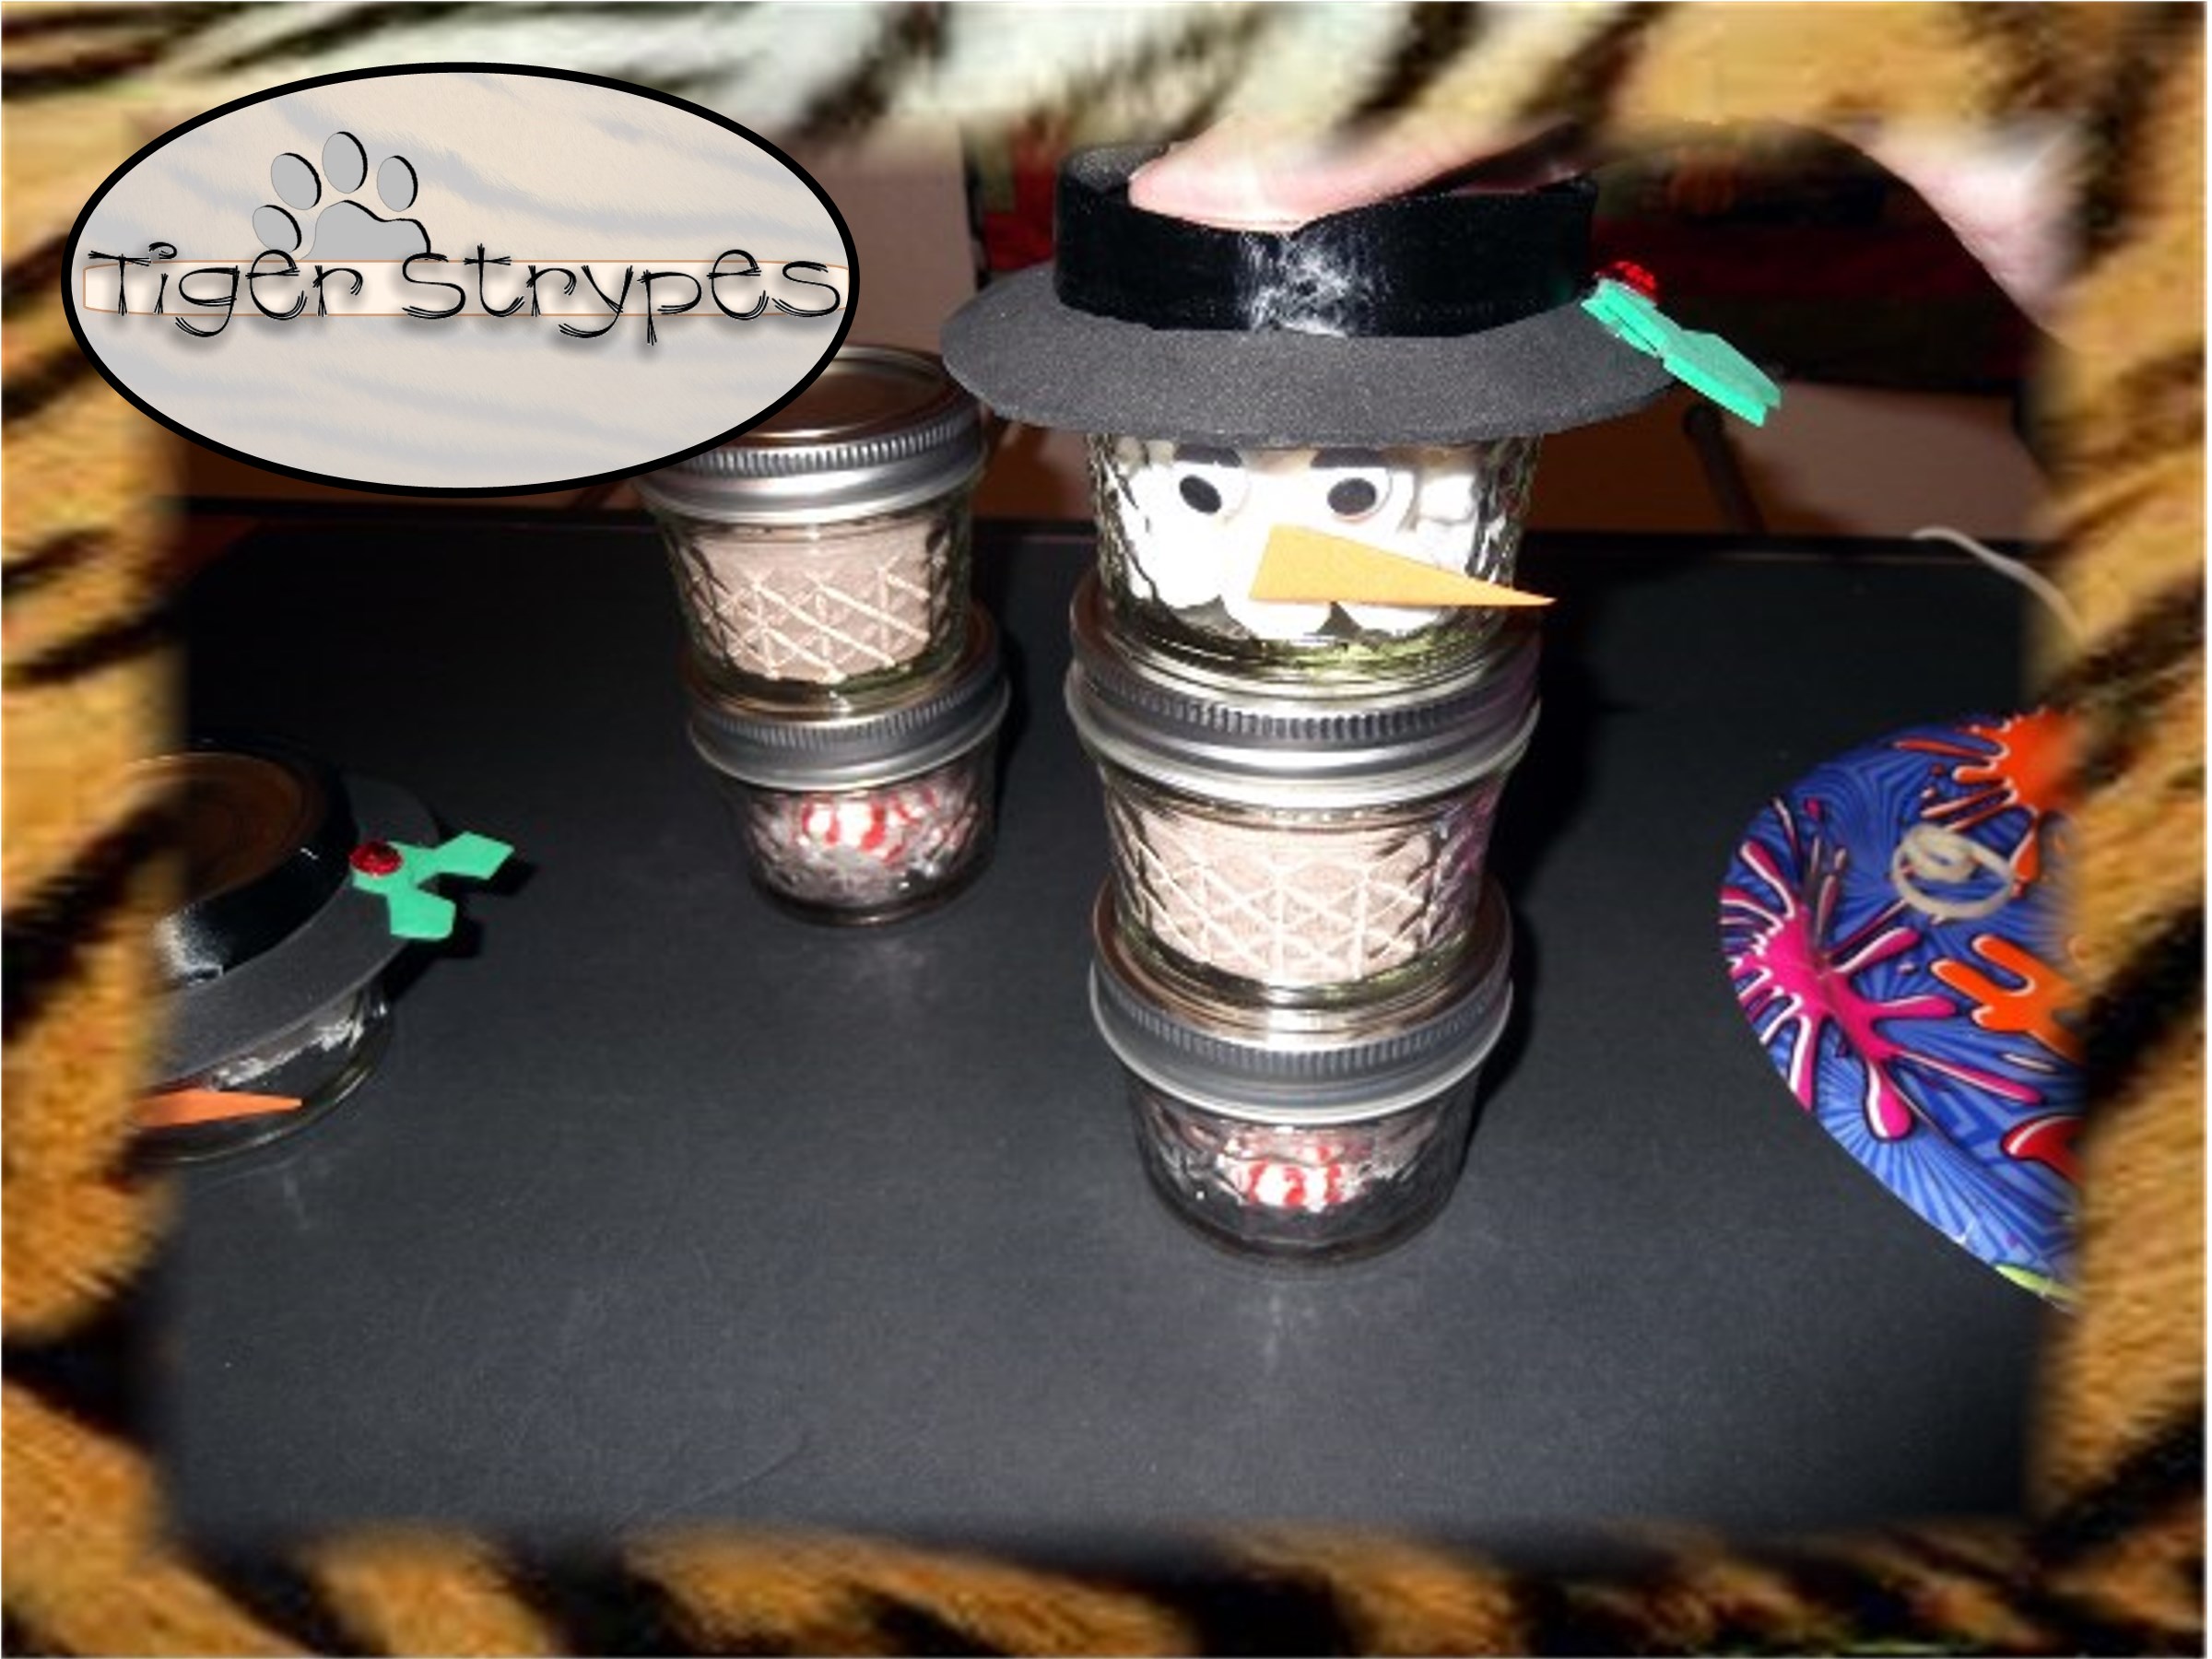
Before you close these ups, use the top lid to trace a stencil on a piece of the felt or foam board for the hat. Be sure to trace around the top edge and not the bottom, as that seems to be a bit wider.
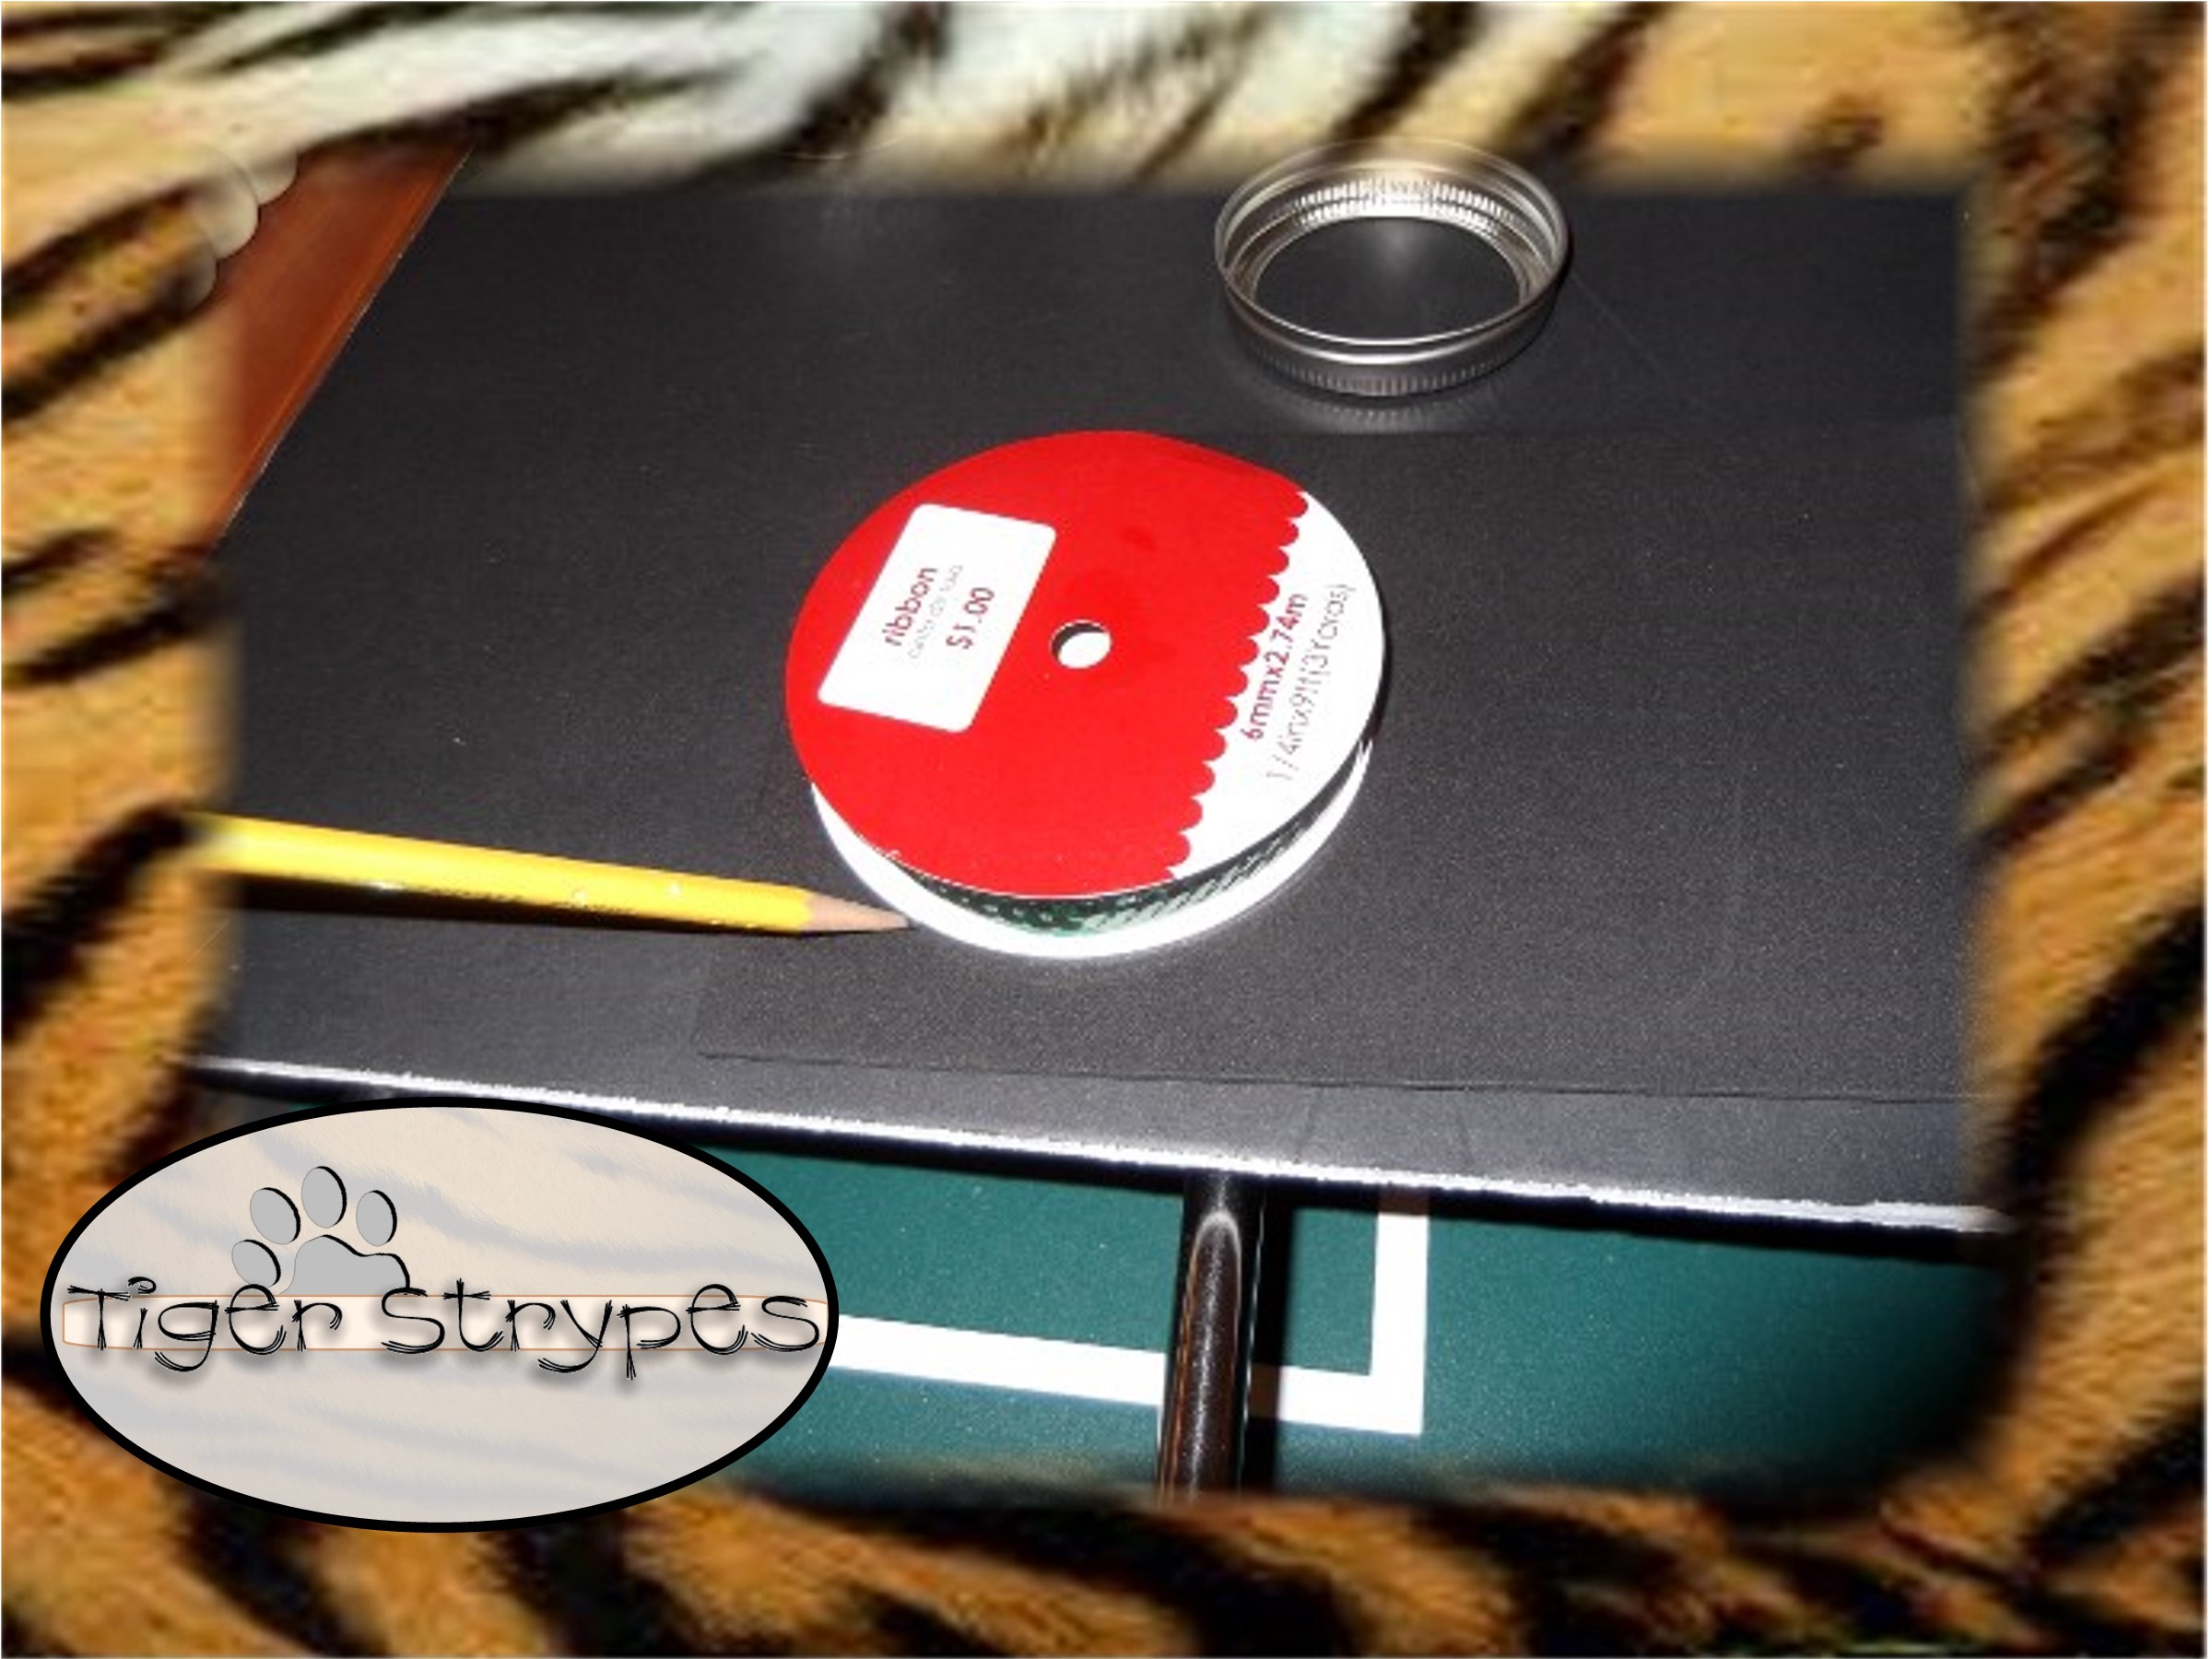
Now, using a larger circle (I used the ribbon spool) trace another circle, being sure to have it centered, around the first one for the brim.
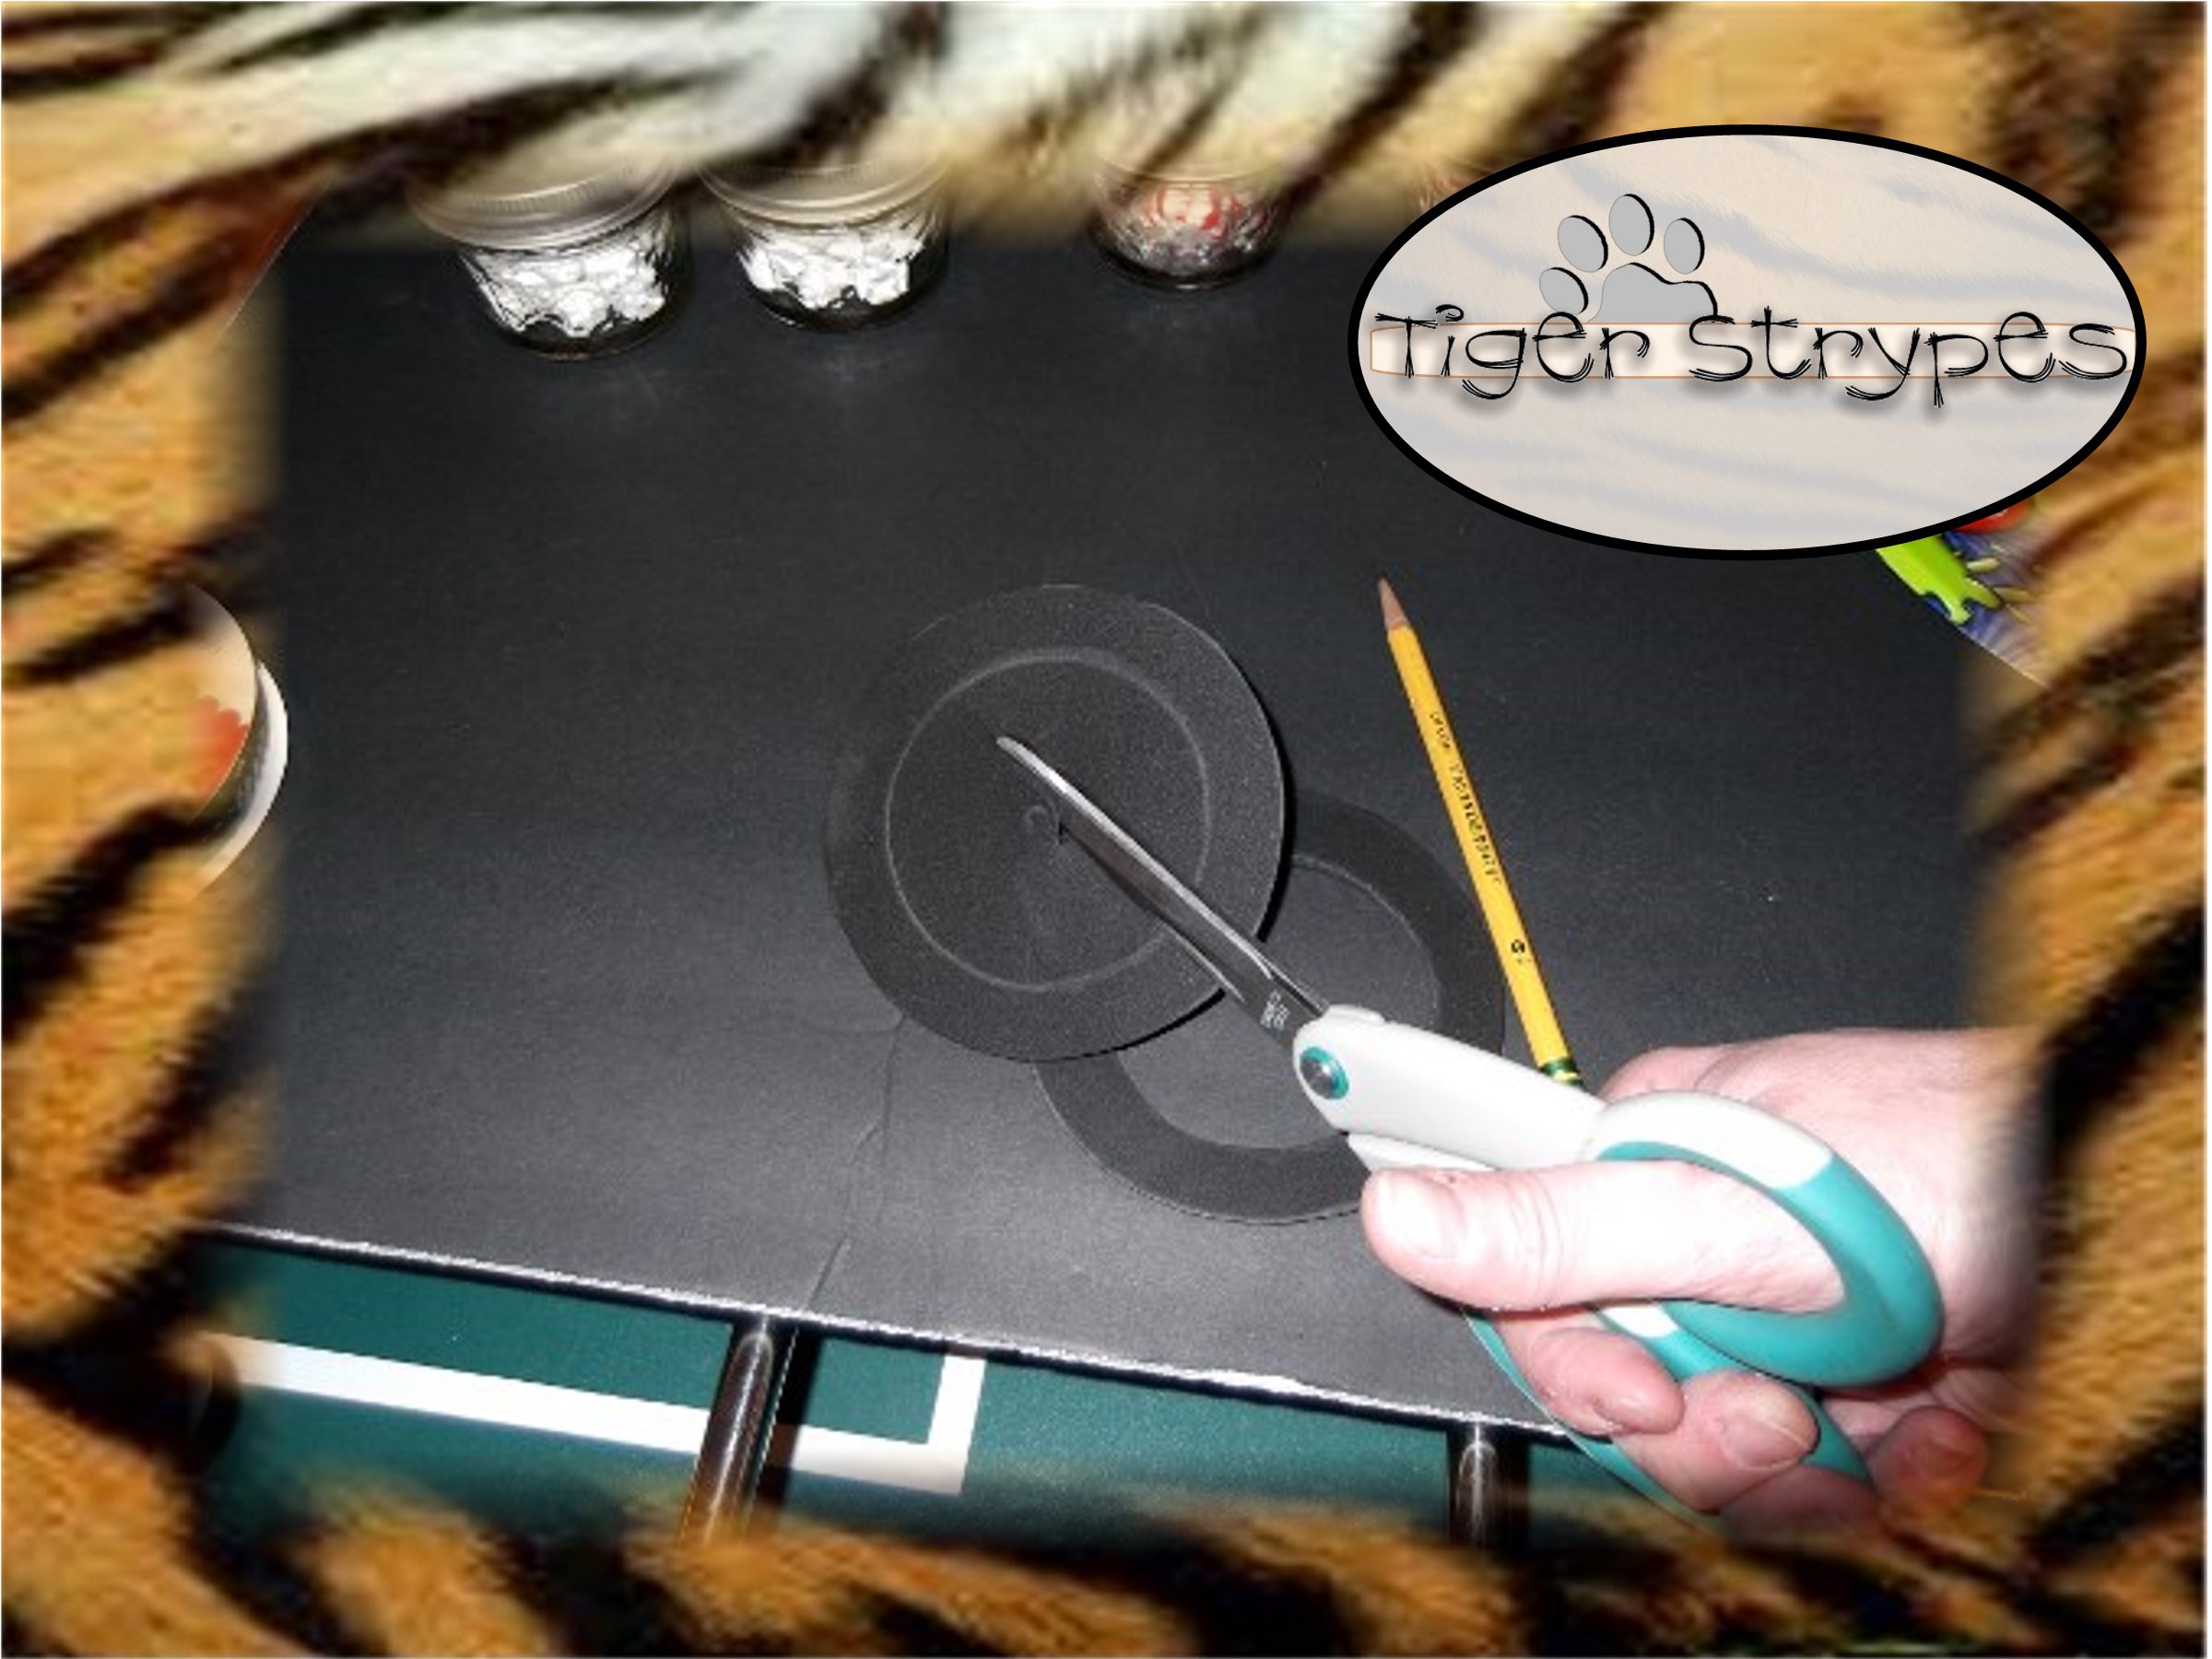
Now, pierce your scissors through the middle and cut the center out.
Now, to start on putting the hat on, put a dot of glue on the lid that you’ve attached to it’s bottom filled with cocoa and wrap the black ribbon around the edge to mimic a hat. Use dots of glue in however many spots you feel are necessary to secure. Trim it to fit and secure the end to the rim.
Now you can attach the felt/foam piece that you cut out over the top to be the brim.

You can add decorations to the hat, if you wish.

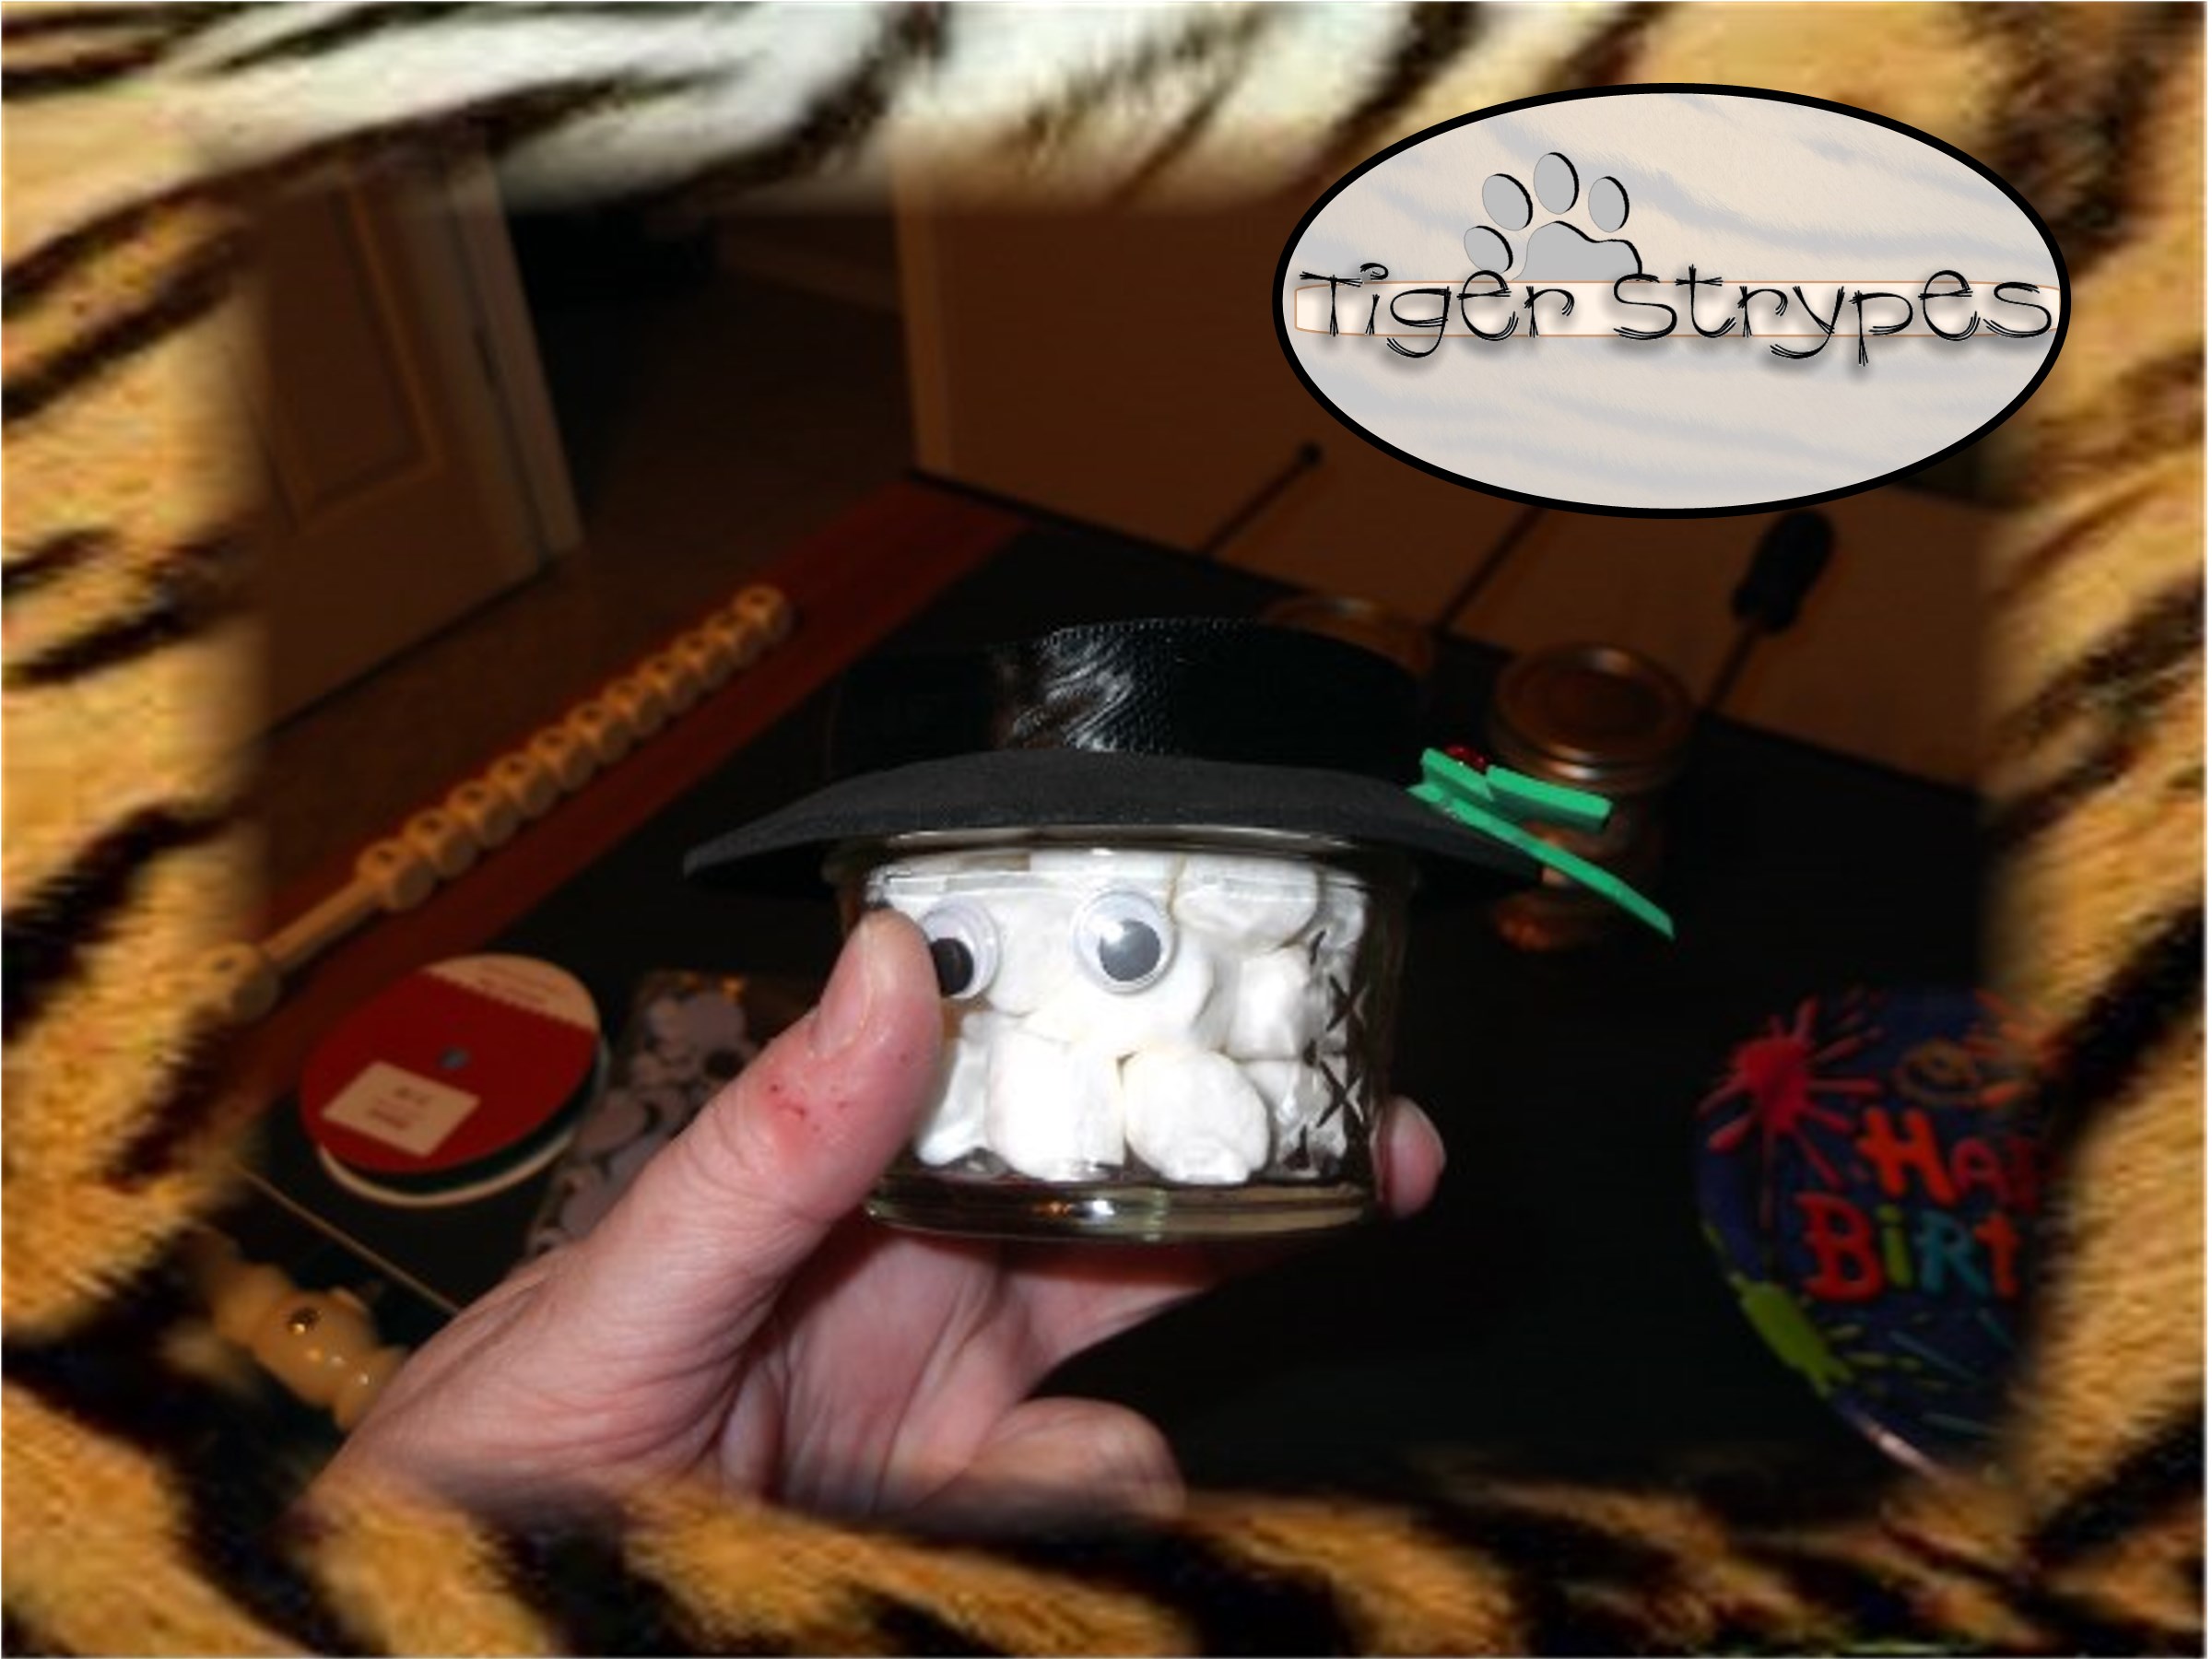
After you’re finished bedazzling Frosty, you can start on his face. Attach the eyeballs or pieces of felt, if you wish, to the top of the jar.
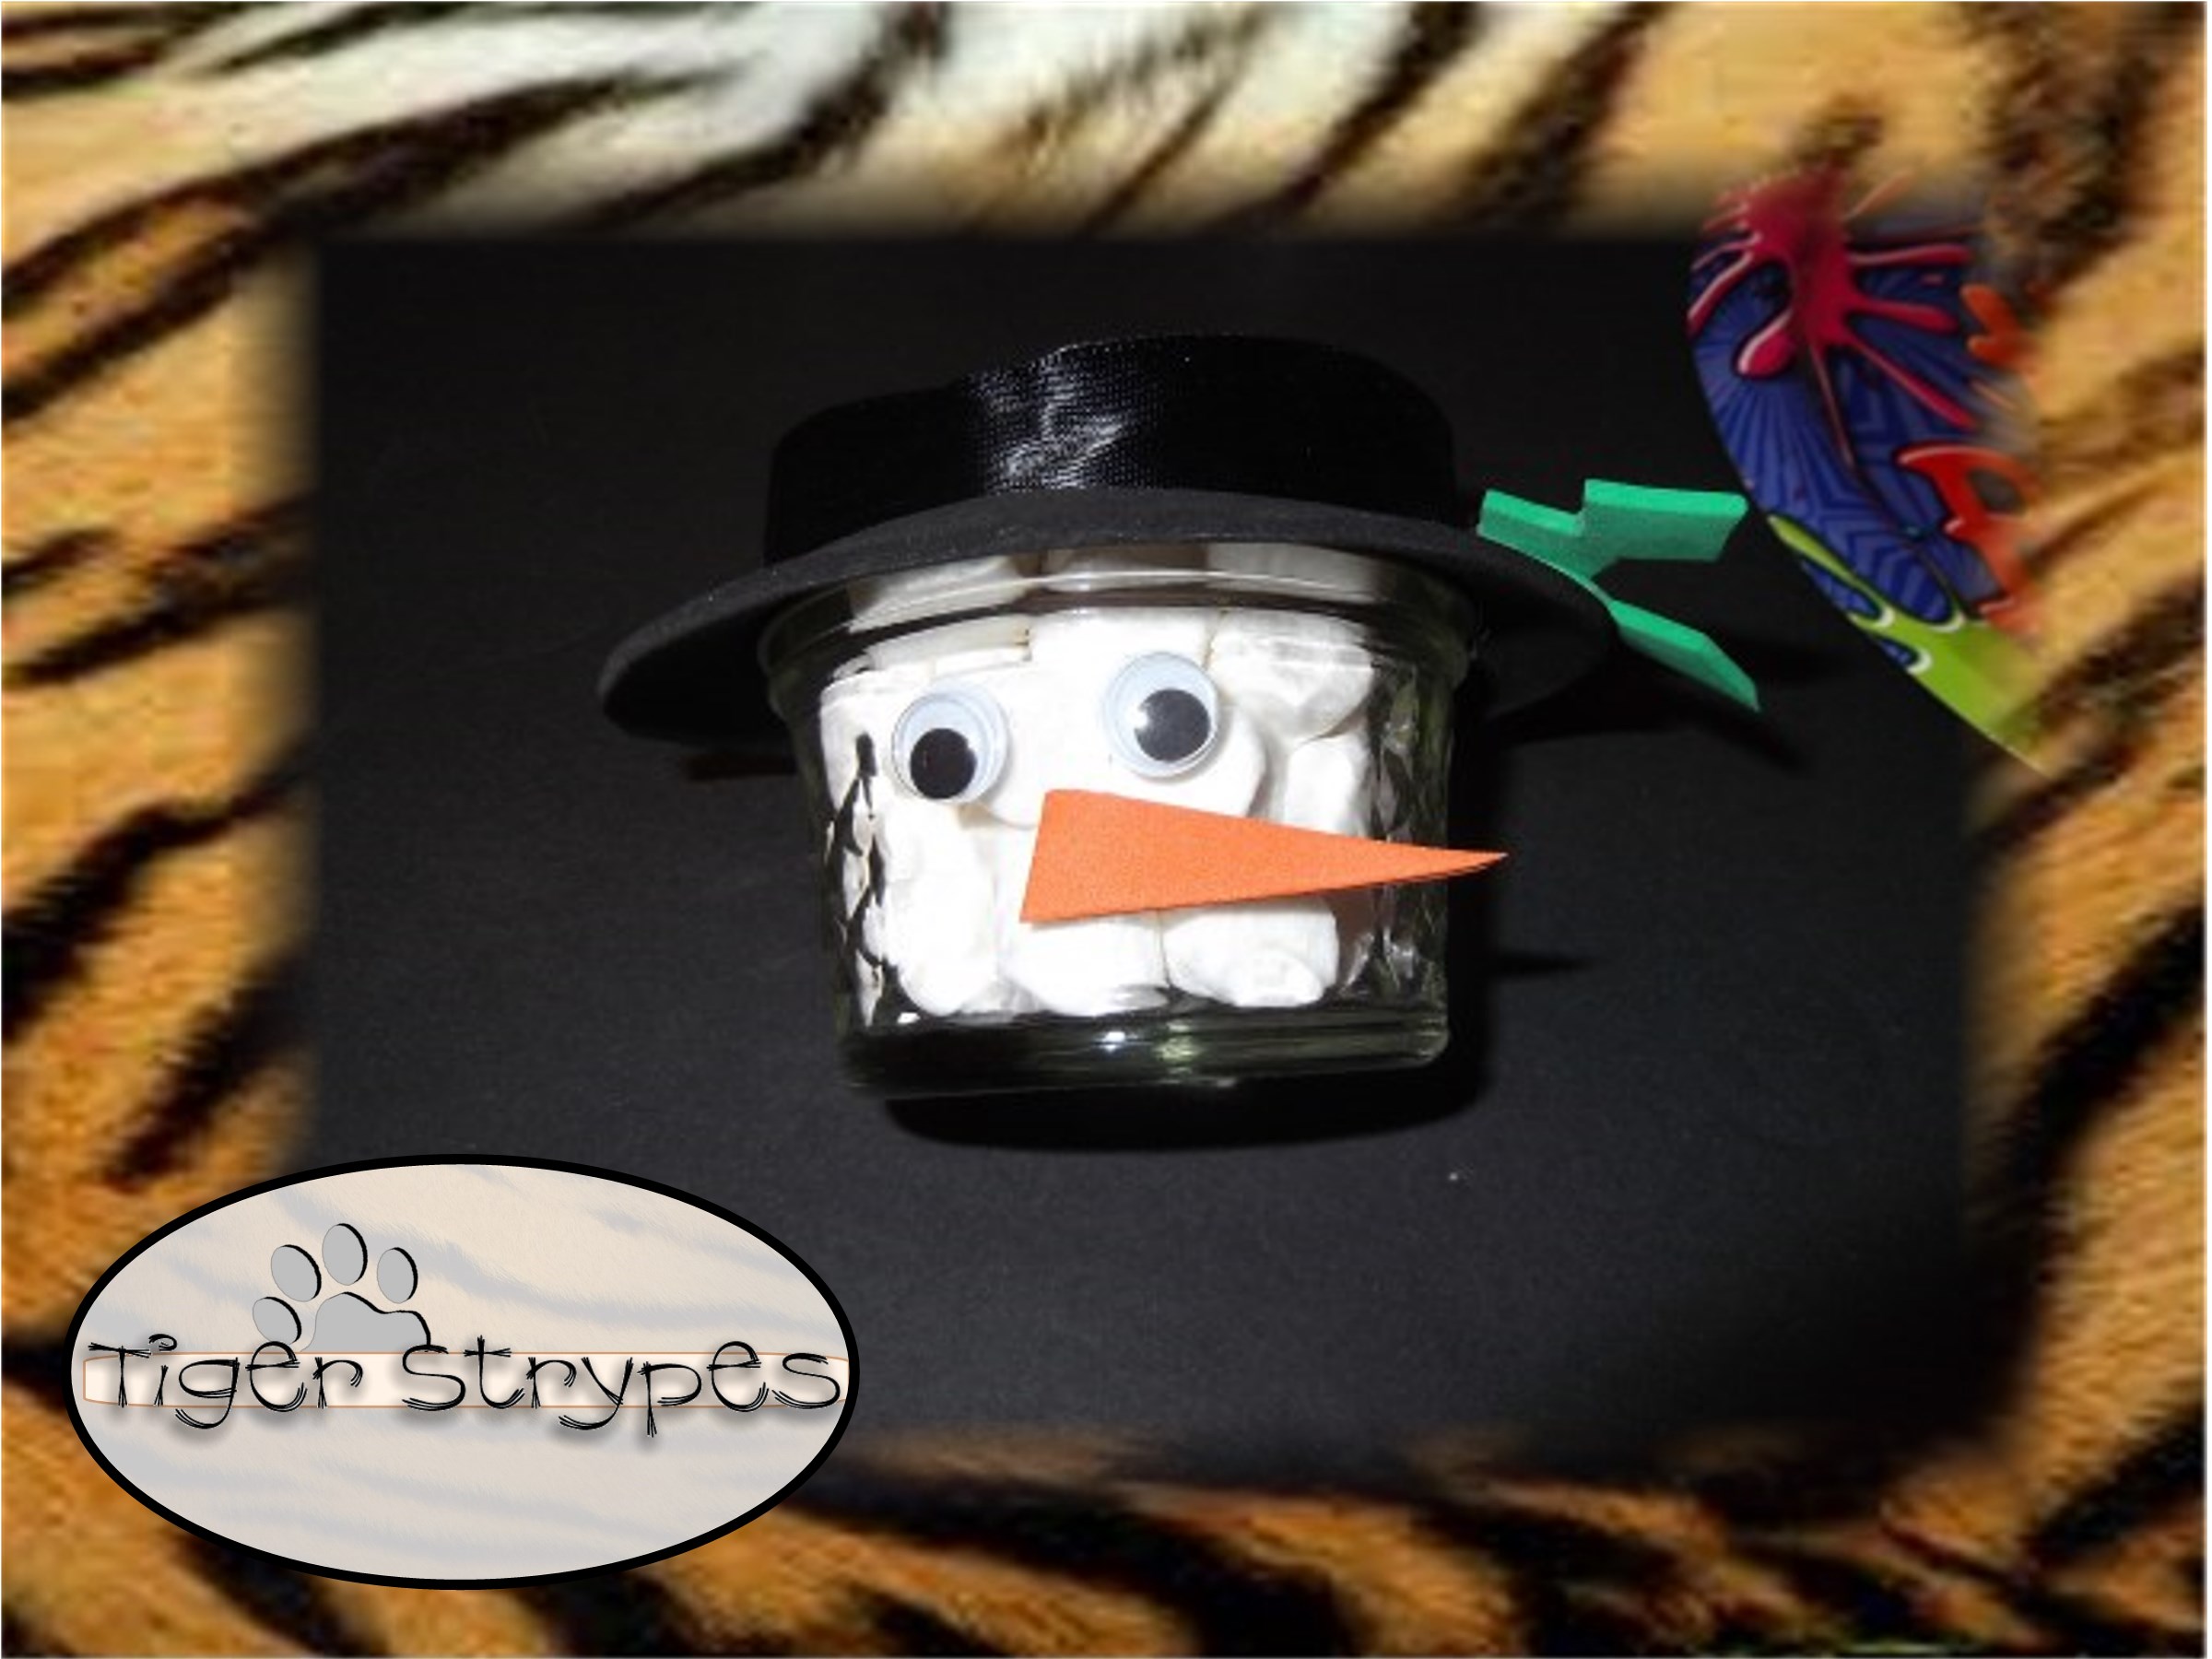
Cut a “carrot” out of the orange felt/foam and hot glue it to his head.
Now you can begin assembly. Put some hot glue on the middle of the “candy” jar lid.
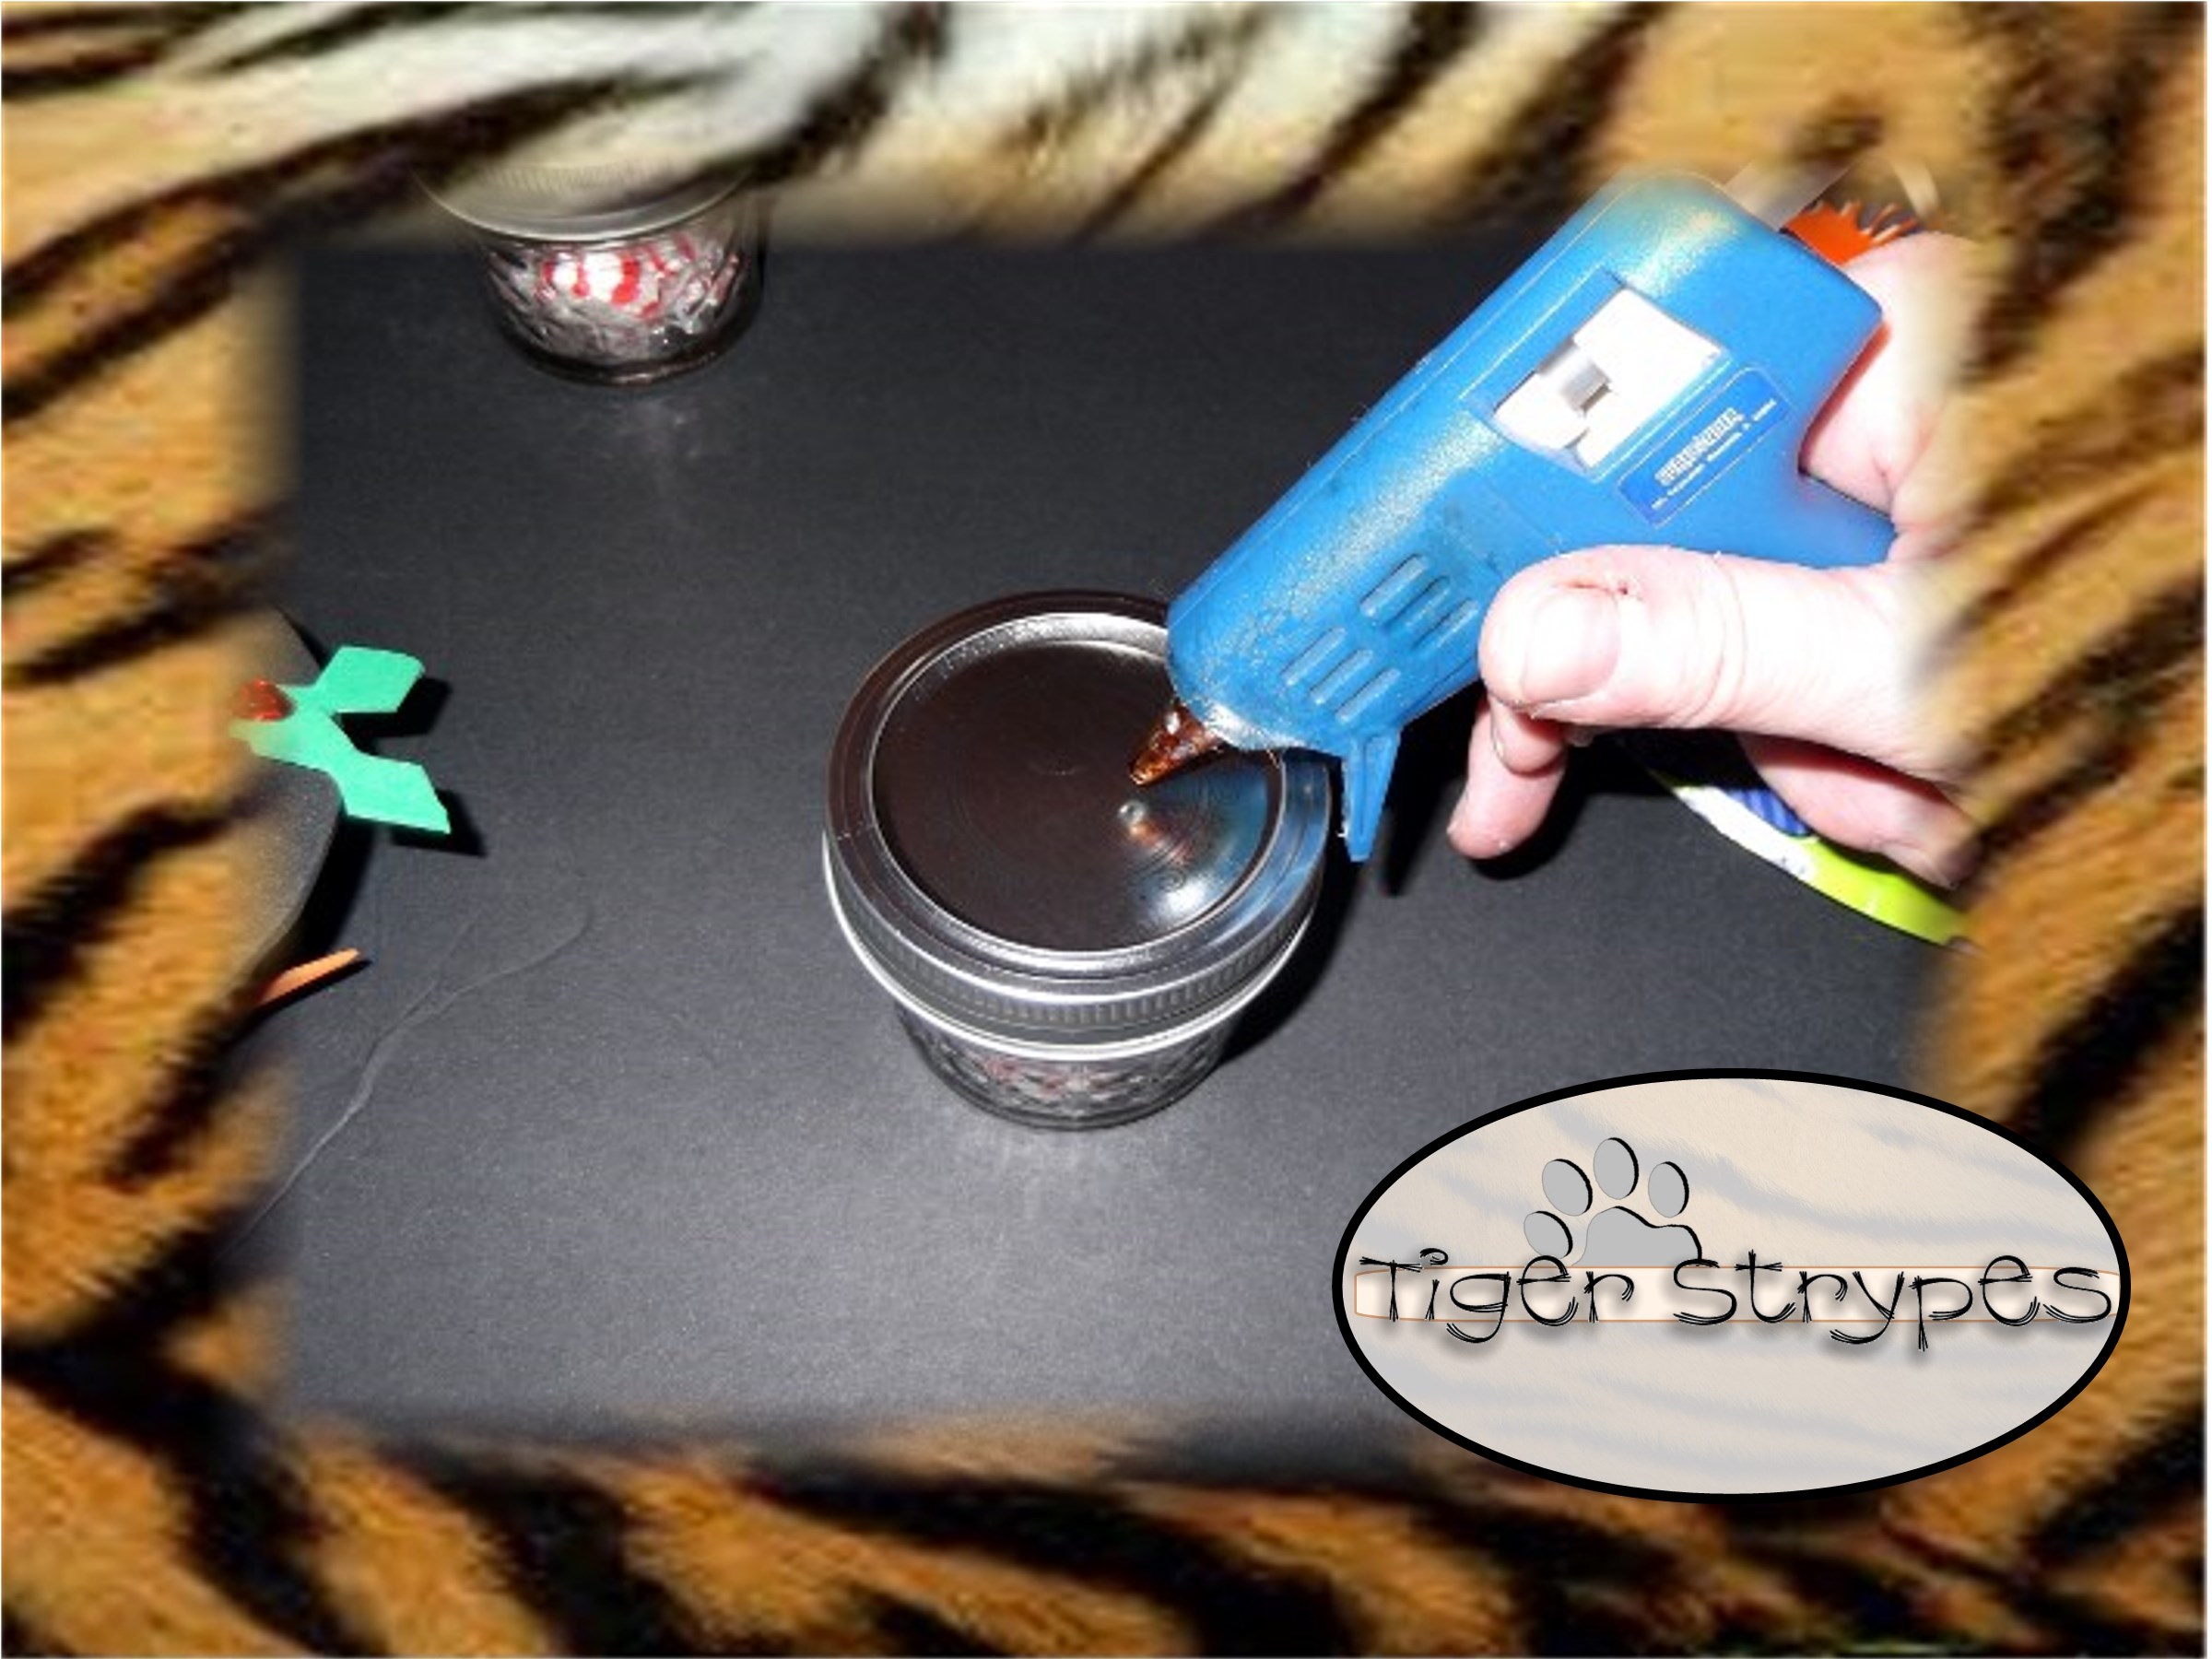
Next, attach the “hot chocolate” jar to it. It will take a bit of time to dry, but just make sure the it’s secure before continuing.

Now you can attach the “head” to the bottom two.
Next, I used an old placemat from a set that I found at the thrift store for $0.50 and cut it into strips for the scarf.
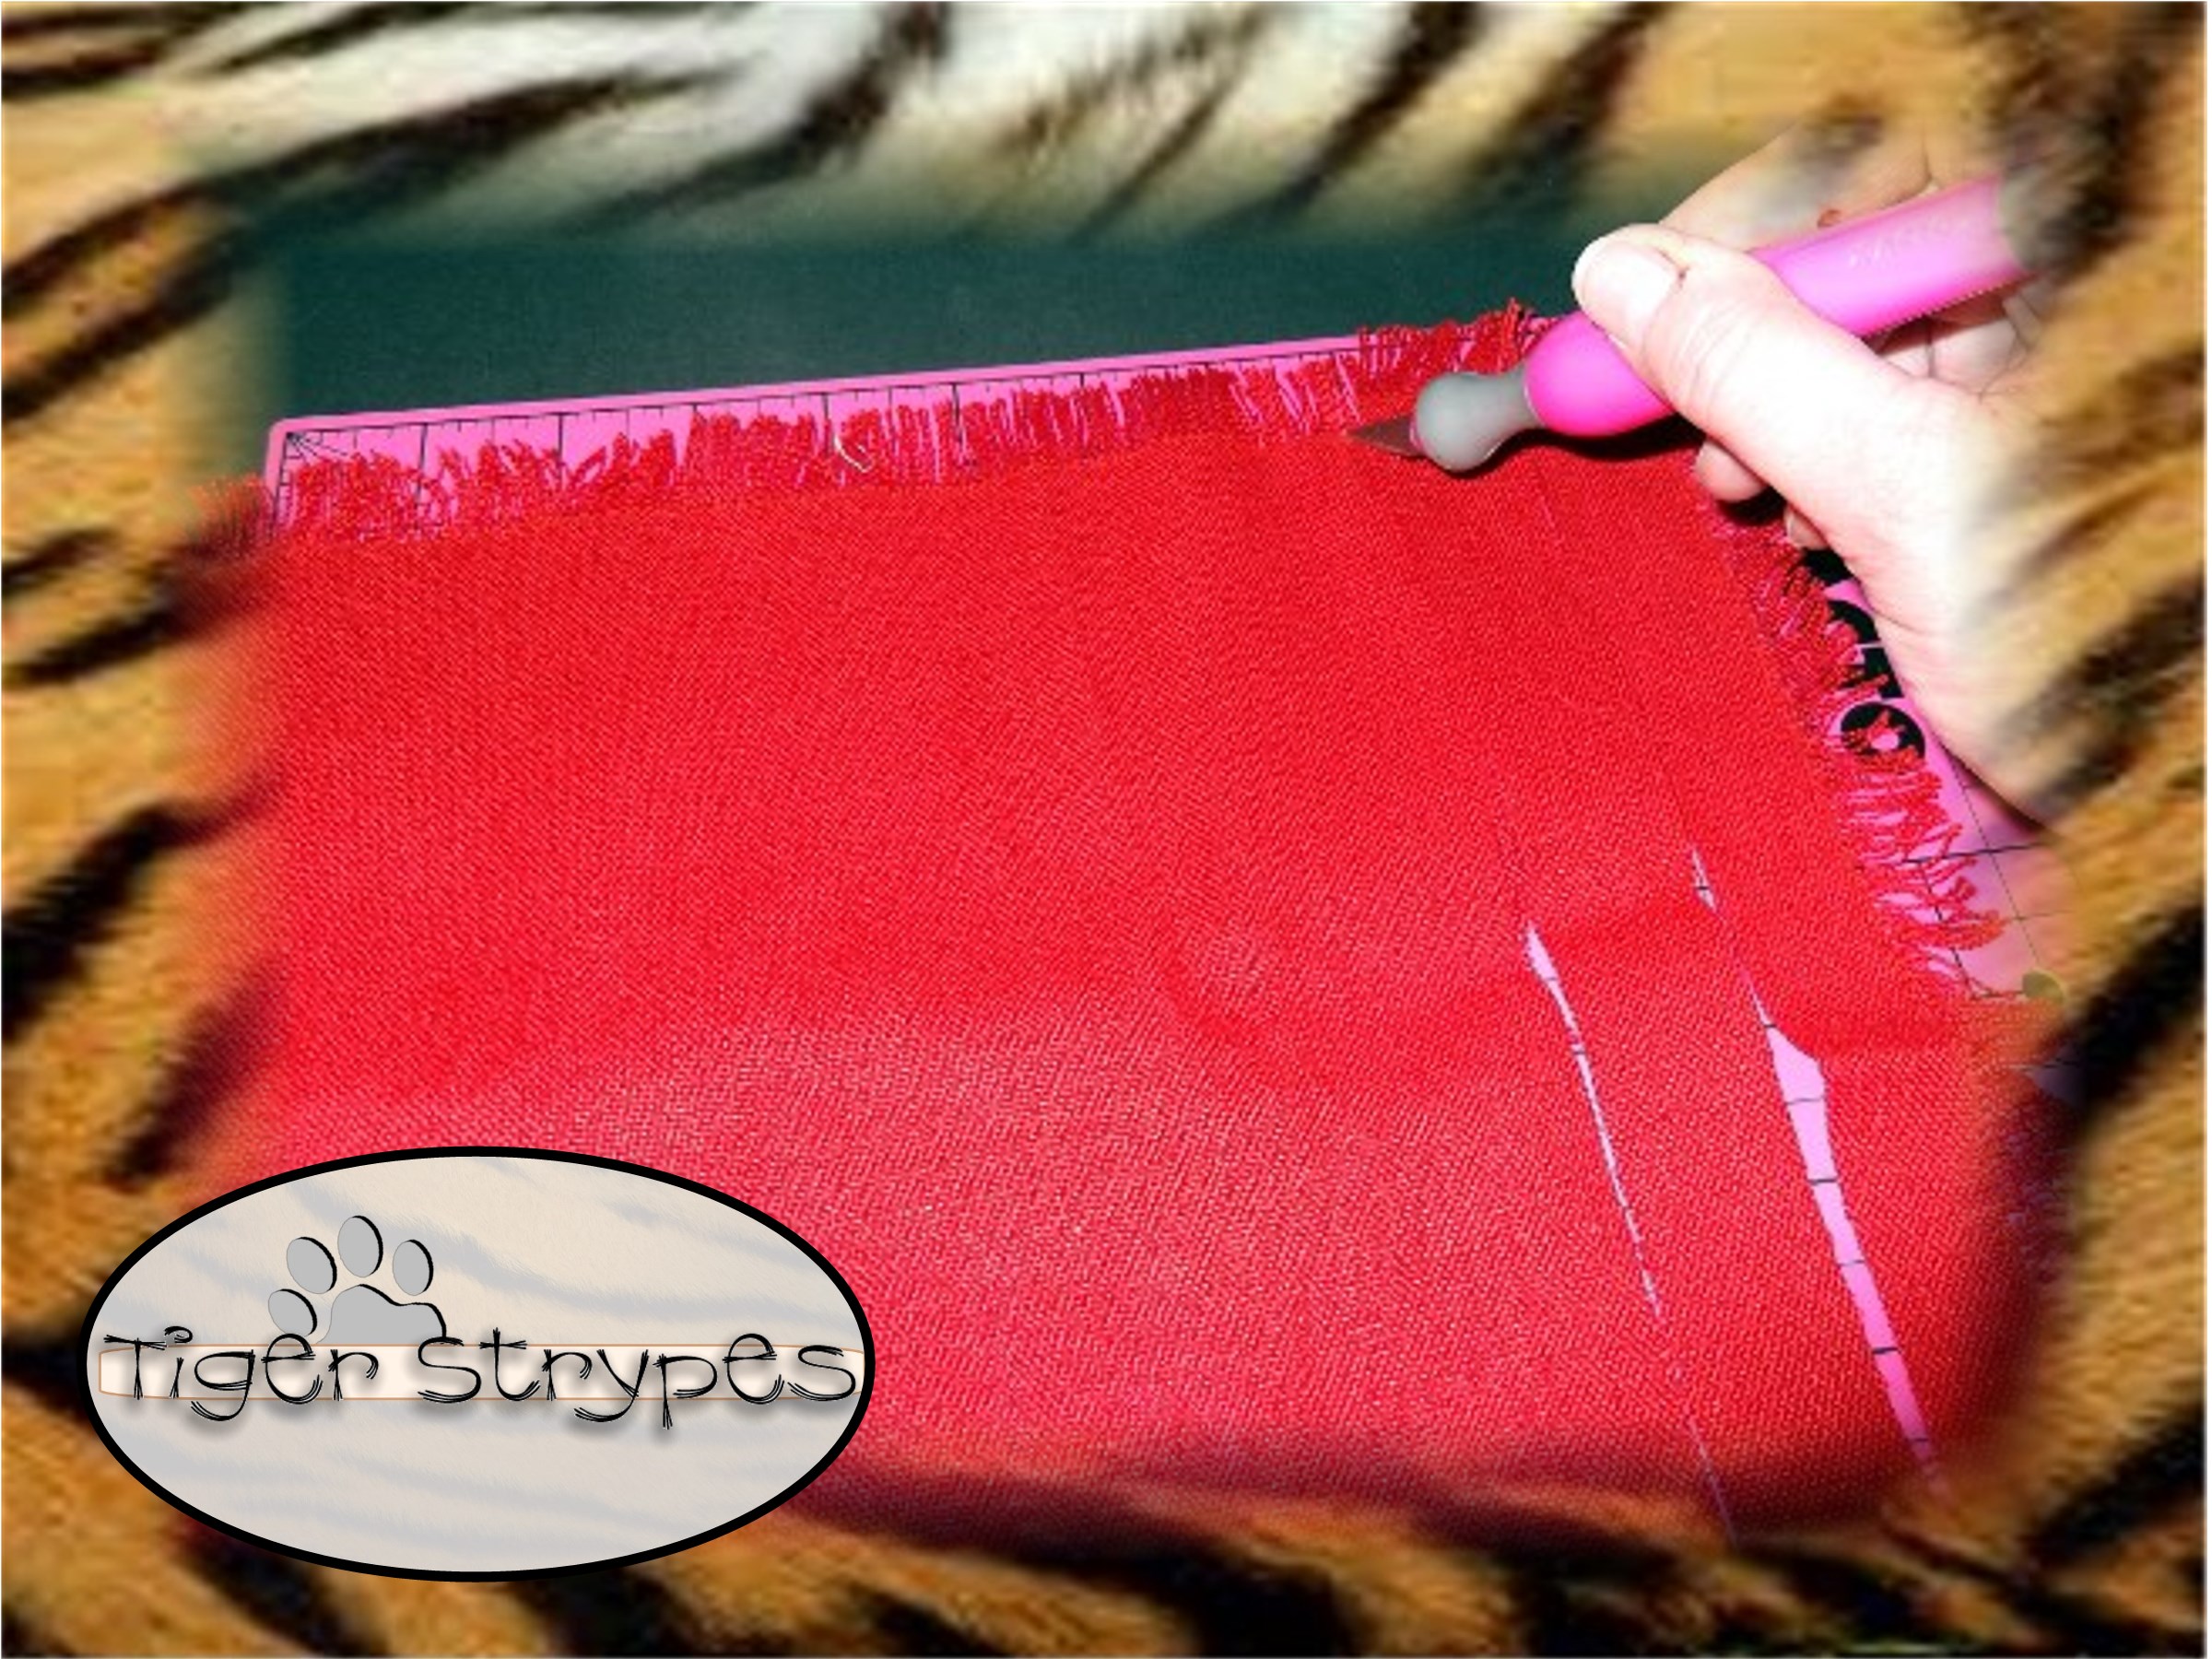
When you have these cut, you can wrap them around the top jar to be his scarf. Just use your hot glue gun to attach the pieces together. Be careful not to burn your fingers as you secure it.
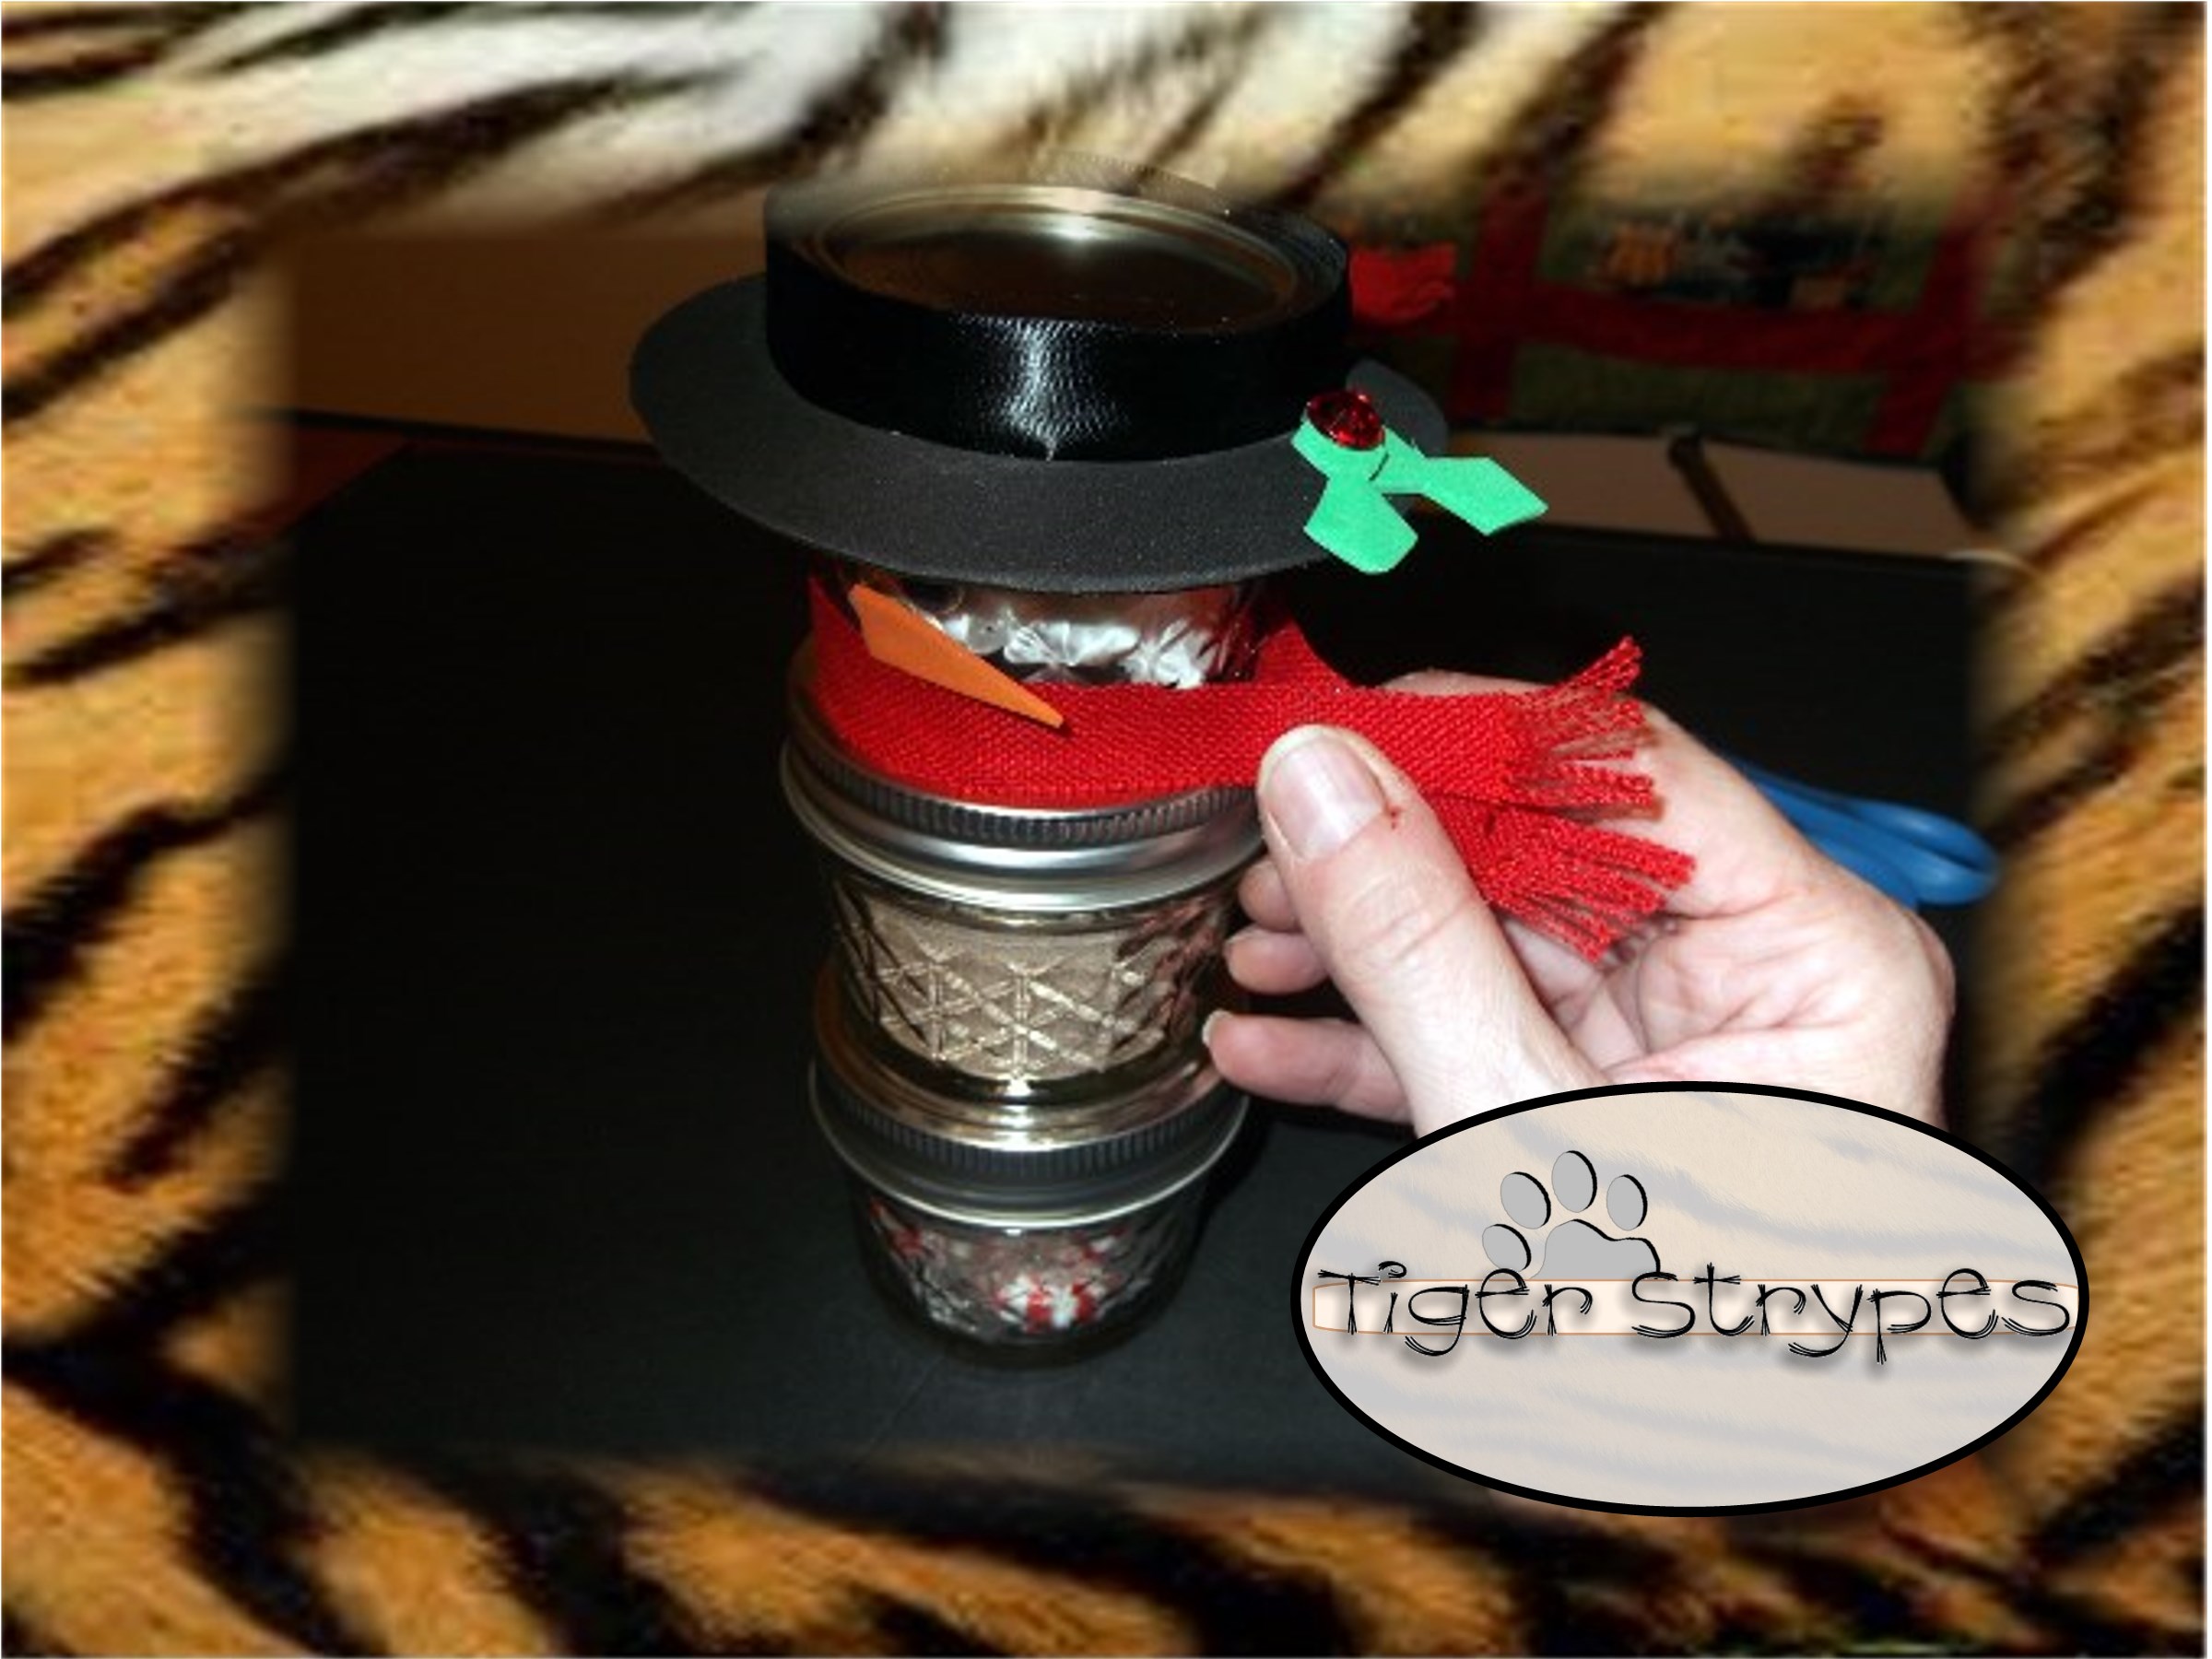
Once that is done, you can add embellishments as you wish for more decor. I used little felt dots from the hardware section to be the “buttons” and added then decided to add a bell to his scarf.
Now you’re done. You can enjoy this cute little guy around the house or give him as a gift for others to enjoy a yummy hot chocolate during the CHRISTmas season. Hope you like it and have a blessed CHRISTmas and a happy New Year!!
“If your enemy is hungry, give him food to eat; if he is thirsty, give him water to drink.” -Proverbs 25:21
All pictures and text are my own and have not been copied in any way. I, Jamie Tomkins, own and operate Tiger Strypes Blog located at www.TigerStrypes.com. From time to time you’ll hear about my real life experiences or creations with products and/or services from companies and individuals. Let it be known that I have no affiliation with these said companies, and have not received compensation for reviewing or using their service/product. The information that I give regarding the product/service is based off my own personal experience, I do not guarantee that your experience will be the same.
*****************************************************************************************************


I know so many people that would love this one. Happy Holidays #HomeMattersParty
It was fun to make Audrey – thanks for stopping by!
These are too cute and they look pretty easy to make! Thanks so much for the tutorial.
You’re welcome – they are fun to make, and great gifts! 🙂
These are adorable! It’s been great co-hosting the Home Matters Linky Party with you. Happy holidays! #HomeMattersParty
Thanks Denise – they were fun to make! 🙂
HOW ADORABLE! Great idea!
Oh how cute! I love this idea for my neighbors!
What a cute idea. I love it!
OMG I LOVE THESE! I’d like to make some! Cute!
This is absolutely adorable!! I love it!! Andddd we have mini mason jars downstairs. I just need the peppermint. 🙂
That’s pretty neat, I bet my 8-year-old would love to do that!